This summer, my entering-fifth-grade son was able to attend a week-long day art camp. He loved it and even thinks it will be his favorite camp of the summer!
Proud Momma
I’m so proud of the artwork he brought home; I can’t wait to get a few of the pieces framed. (I love the black frames with glass you can get from Michaels; I use these on our hallway gallery wall.)The teacher selected our favorite project to be part of the end-of-summer art show!
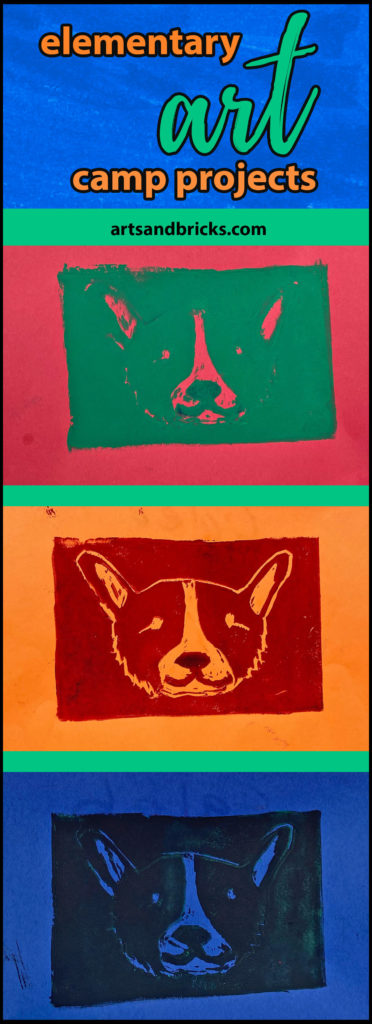
Print Making for Kids
This camp was my son’s first opportunity to explore printmaking. They used a rubber block stamp; he described it as “a big eraser-like material, but gray, not pink.” They used a sharp tool to carve into the rubber and then rolled colorful ink onto it to make prints. My son cautioned that the tools are sharp and can leave lasting scars, so be careful!
Dog Print
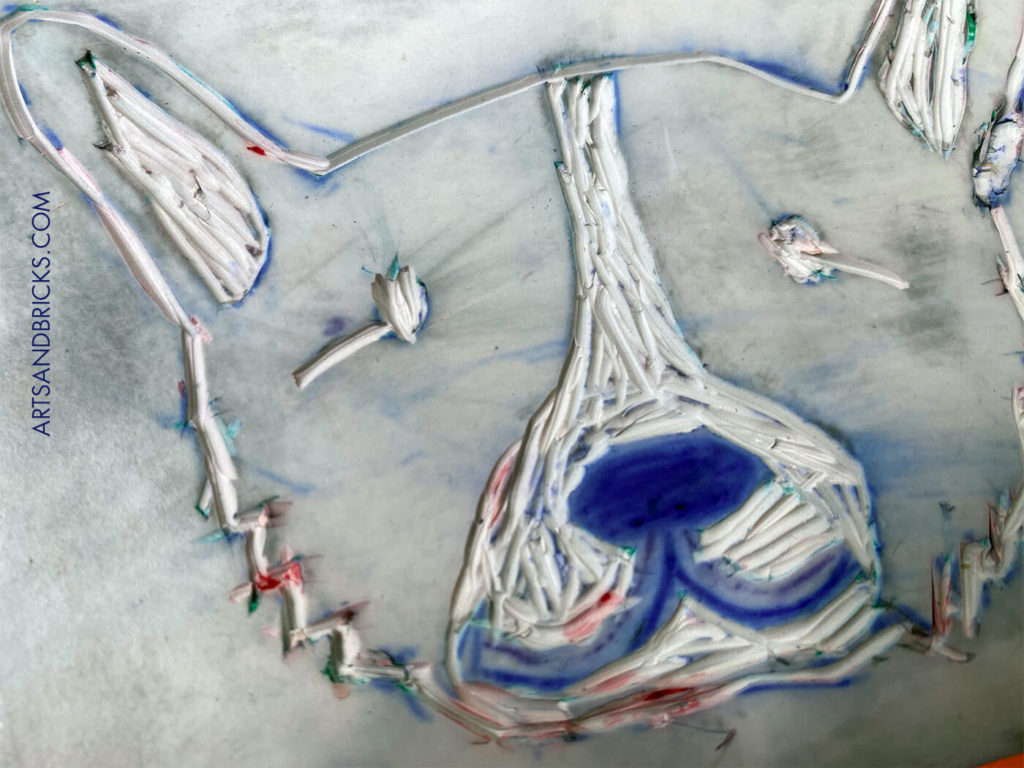
The art teacher for this camp provided a binder of inspirational images for the children to use as visual research. My son used this binder to guide his dog drawing. First, he practiced drawing the dog with a pencil on paper. Next, he taped the drawing onto the rubber. Then he drew over the pencil drawing many times so that a thin indent was visible on the rubber. Finally, he traced the indent with a ball-point pen; the students were instructed to push hard so that the pen went deep into the rubber.
Now the rubber was ready for scraping out. The students used u-tip tools of two different sizes: a thick and thin one (like a Lino Cutter) to peel out the rubber where the pen is drawn on your rubber. When this part was finished, then he picked his ink color.
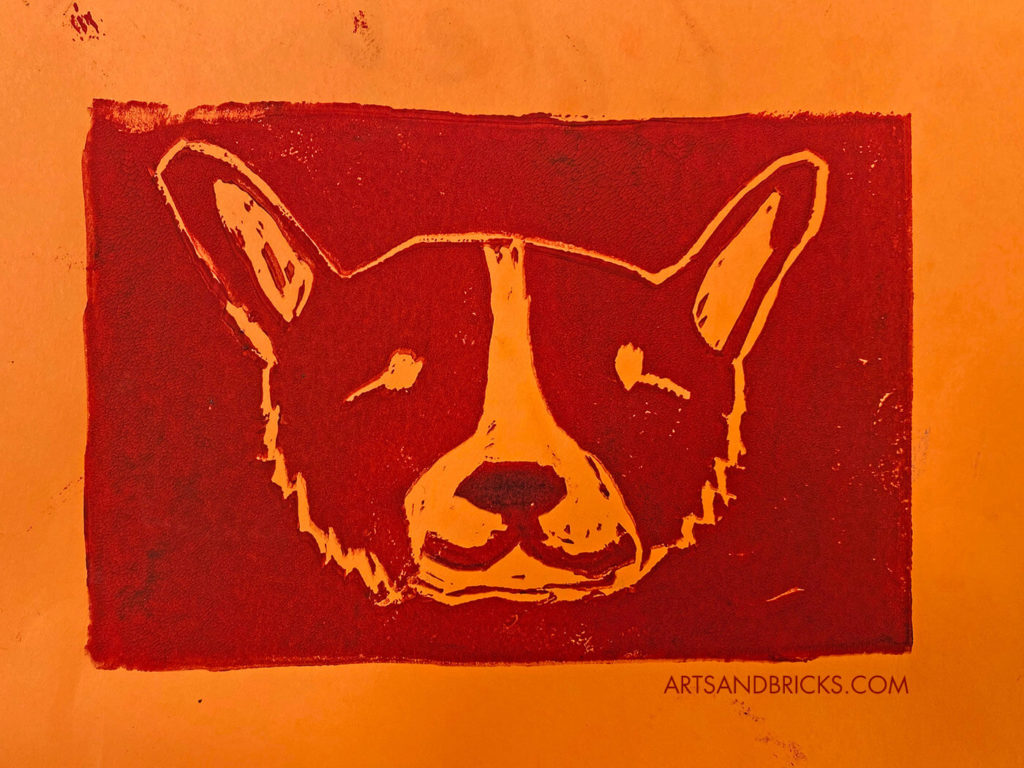
To apply the ink, he used a roller and spread it evenly on the rubber stamp. Then he put the paper on top of the inked rubber. Next, he used a presser to push the paper firmly unto the ink. Finally, he softly peeled off the paper.
The print is now on your paper. The part that you peeled away from the rubber with your u-tip tool is the part that doesn’t get ink. So, on your final artwork, the lines on your rubber will remain the color of the paper; everywhere else will be your ink color.
People Prints
The style of these people is a continuous line; you weren’t allowed to pick up your pencil. The students had pictures of portrait artwork they were looking at for inspiration.
The printmaking technique used foam. First, the kids drew on paper. Then you put that piece of paper on top of the foam and draw over it deeply. This may mean you have to draw over it many times. The goal is to make a deep indent in the foam.
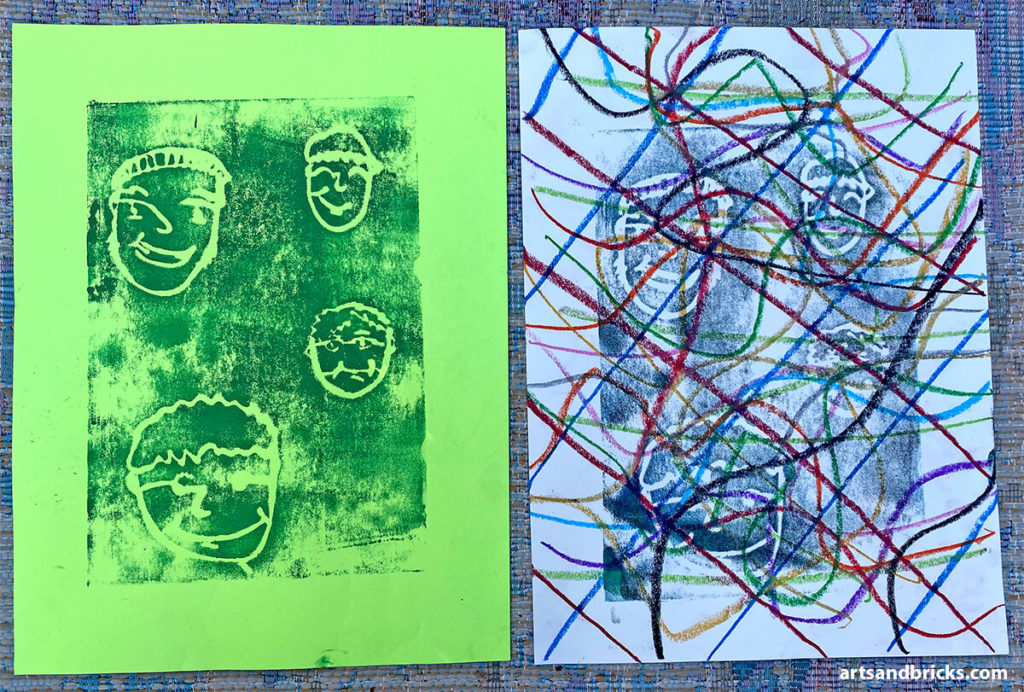
Roll ink or paint onto the foam, press your paper on top of the foam, and press. This allows the paint to transfer to the paper.
To make these prints mixed media, you can print onto a piece of paper that already has marks. In this case, my son drew a pattern with oil pastels and then printed a black and white image on top.
Mixed Media – Paper Collage
Paper collages are one of our family’s favorite art projects; my son was thrilled that collages were part of his art camp week, too!
The class first made interesting painted paper for this plant-themed mixed media collage. They created textures with paint. My son made a grid pattern on one piece of paper with thickly laid acrylic paint. On another, he held the paintbrush above the paper and flicked it to spray the paint and create dripping patterns. He also painted designs with watercolor paint. (We’ve written about making mixed media and painted paper in our process art post: Painted Paper Collage Craft Ideas for Kids ) Next, the students drew and cut their plants and vases out of the paper they had painted earlier in the day. The final compositions are colorful and full of texture and unique mark-making.


Single Line Drawings
This series of projects taught the kids how to draw what they saw with a single continuous line. My son drew a water bottle with this technique. The art camp students also practiced making continuous line drawings without looking. They stuck a pencil through a poster board circle so they couldn’t see the marks they were making on the paper.
Drawing with Both Hands
For this exercise, the children placed a marker in both hands. They started drawing the same thing with both hands. My son was surprised at how difficult it was!
Find a local art camp
This camp was one of the best of the summer. If you’re searching for a local camp near you, check colleges/universities or your local recreation organizations. Alternatively, there are also online art lessons.
Pin for Later

Leave a Reply