Crafty Summer Days – Some of the Best Around!

This summer looks a bit different than others; the kids are home and parents are working from home. Can you relate?
One of the skills that I’m really enjoying watching my children develop is how to stay busy and creative all day long. This skill is being honed each day and is proving to be quite messy; I mean physically messy! The house is covered with remnants of creative play: paint, tea parties, forts, battles, LEGOs, and more. After a full workday, as I sigh audibly, I think to myself, “this is the proof of a summer well-lived!”
Food coloring, water, sugar, and fun!
This morning, I heard the kids laughing and having quite a good time in the kitchen. When I came down to investigate, I found a full-on science experiment in progress.
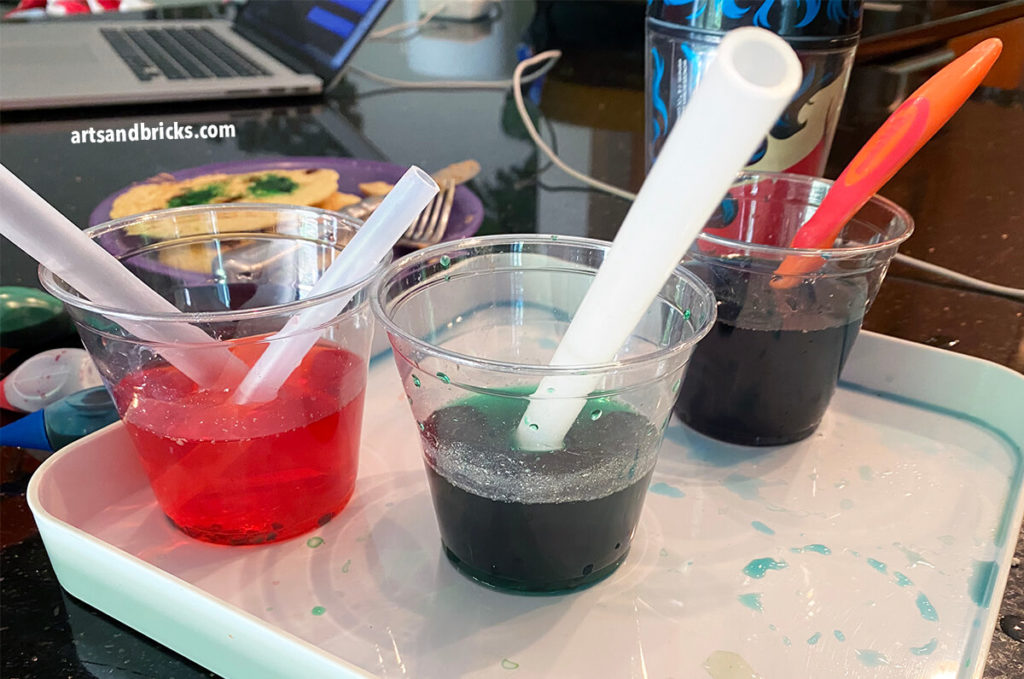
They were busy mixing food coloring, sprinkles, and sugar in various plastic cups and sampling the concoctions. They were also marveling at their green and blue tongues and even how they could dye a pancake! (I believe part of this experimenting was a way to “sneak” sugar!)
Something about the straws and dyed water made me think that we should push this idea a bit further and play with paint and straws, too, but this time outside!
Process Art Idea
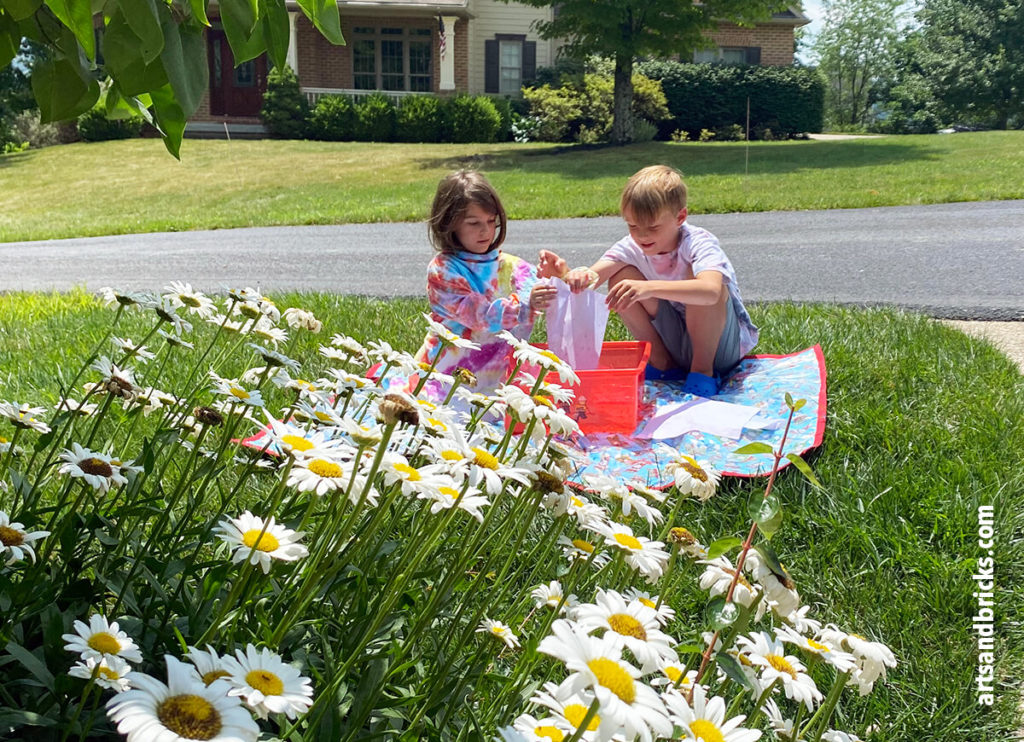
I rallied the kiddos and told them I had an idea of how to use their dyed-sugar water in an art project. We moved all our materials outside and I gave the simple prompts to experiment, play, and have fun! (see more process art ideas)
Painting with Food-Colored Water
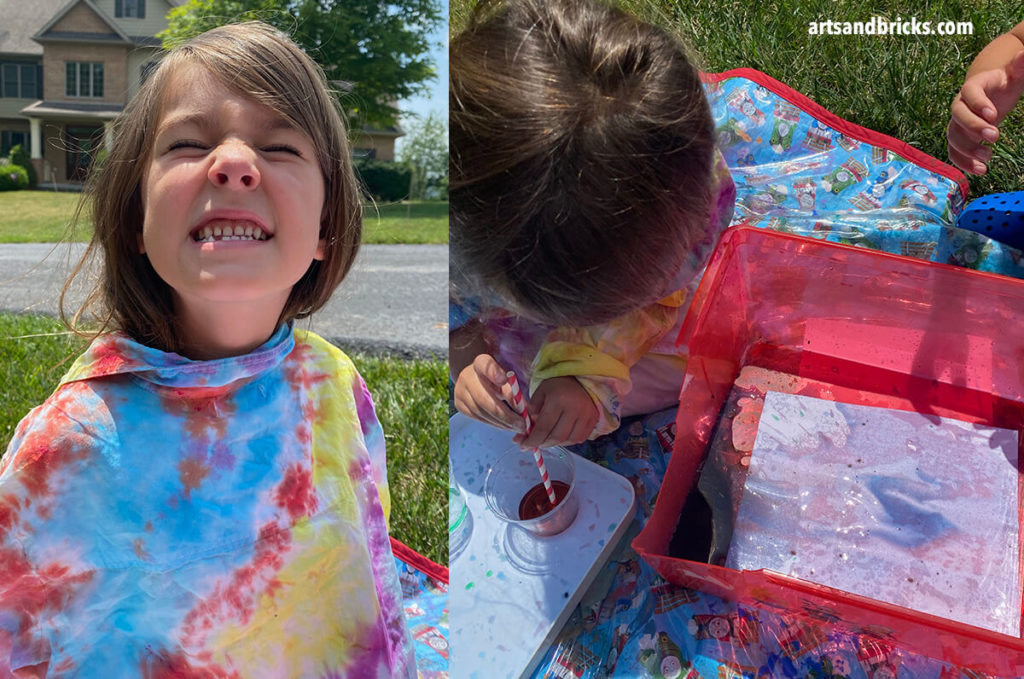
We gathered a plastic bin, paper, and straws and got to making!
The kids experimented with sucking up the dyed water in the straws and blowing it onto paper. They splashed it and poured it, too; enjoying every moment of the mess-making! Most of the papers were completely soaked through, so we laid them out to dry, which because it was hot didn’t take long at all.
We discussed how the water in the cups looked dark and vibrant, but when we used the water on the paper the final color was diluted and softer than expected. I asked what else we could use and was met with resounding cheers of, “Paint, Paint, Paint!”
Blow Painting: Painting with Straws and Acrylic Paint
Next, we started experimenting with straws and acrylic paint; it worked out great.
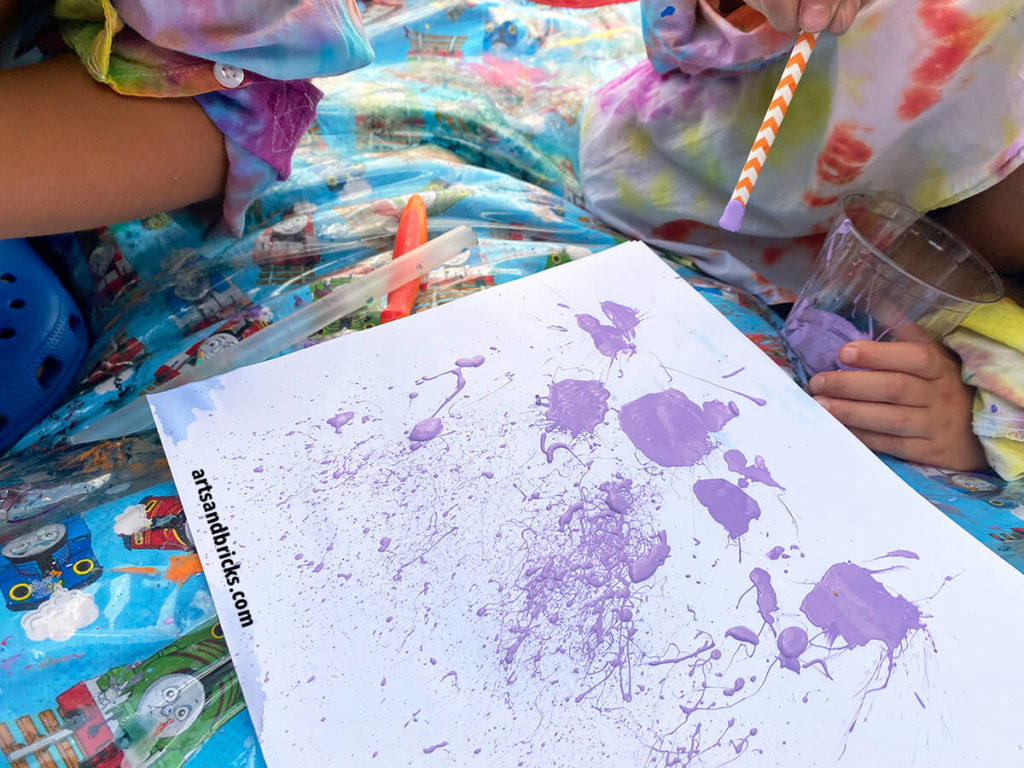
My daughter’s tips for Blow Painting are
- Take a deep breath
- Then, blow really hard through the straw
- Also, make sure there’s a lot of paint on and in your straw. We found that having 1/4 inch of paint in the cup before dipping the straw into the cup helped us make the best blown splatters.
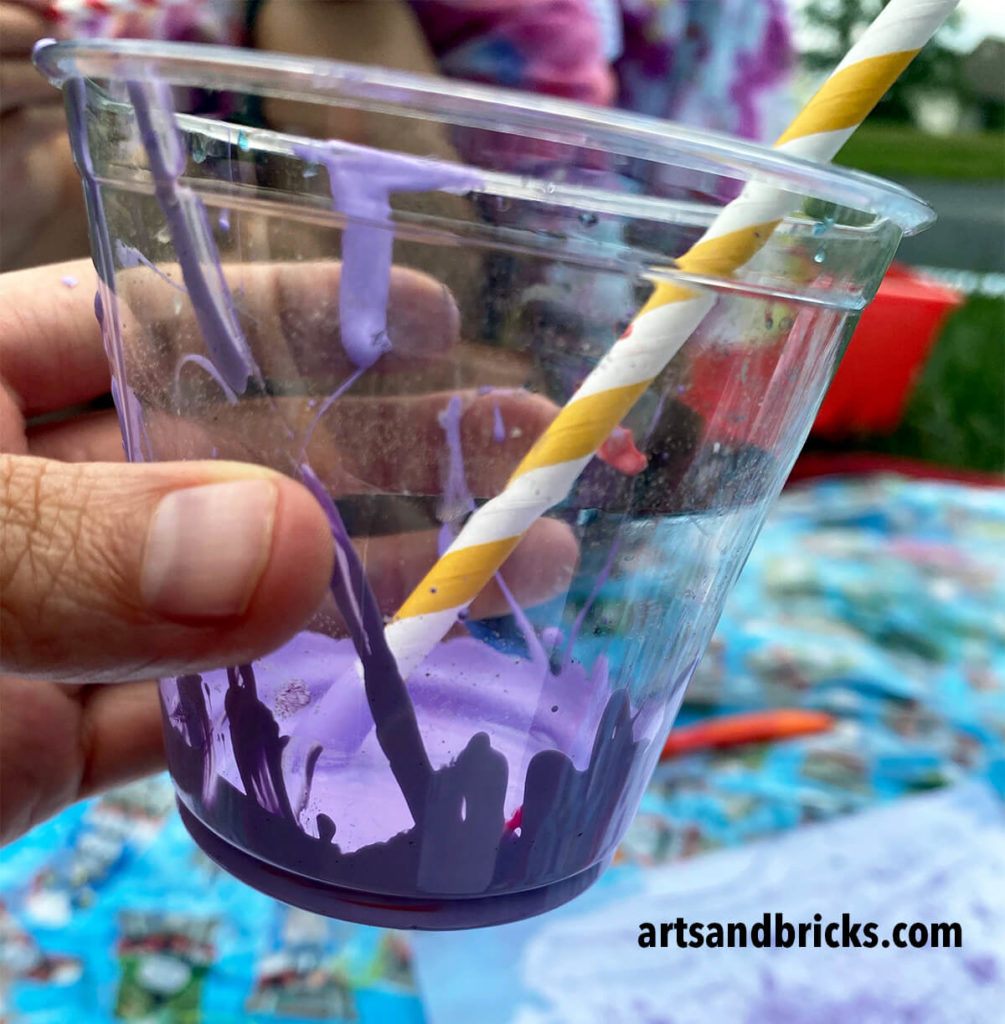
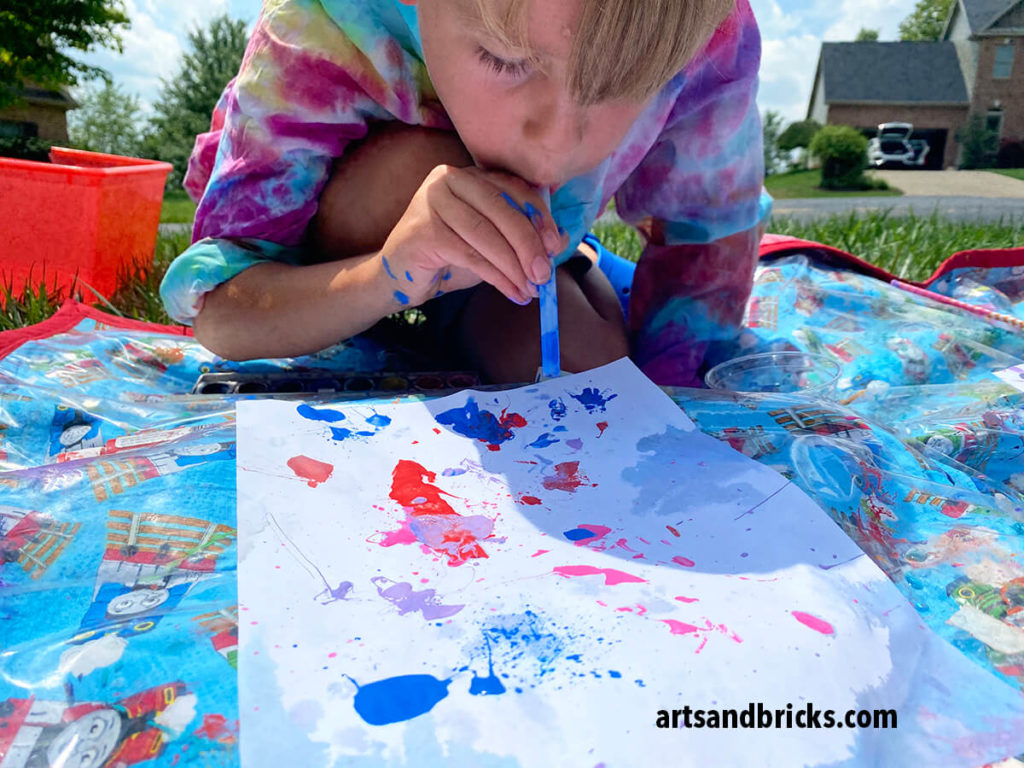
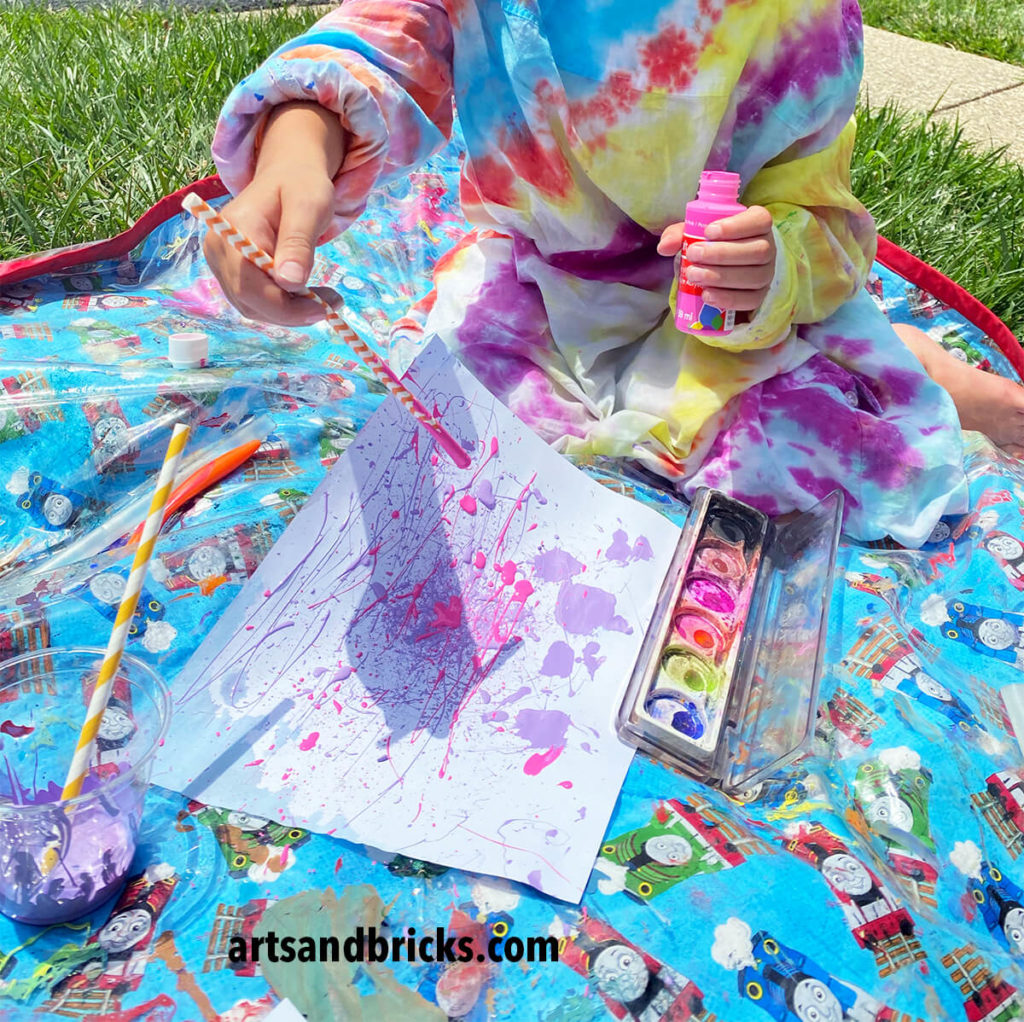
Use straws to flick paint, too
I let my children lead the experimenting. My daughter moved from blowing through the straw to using the straw as a brush. She dragged the straw across the paper forming lines. She used the tip of the straw to make circles. She flicked the straw to splatter and fling paint on her painting. It was awesome to watch her explore!
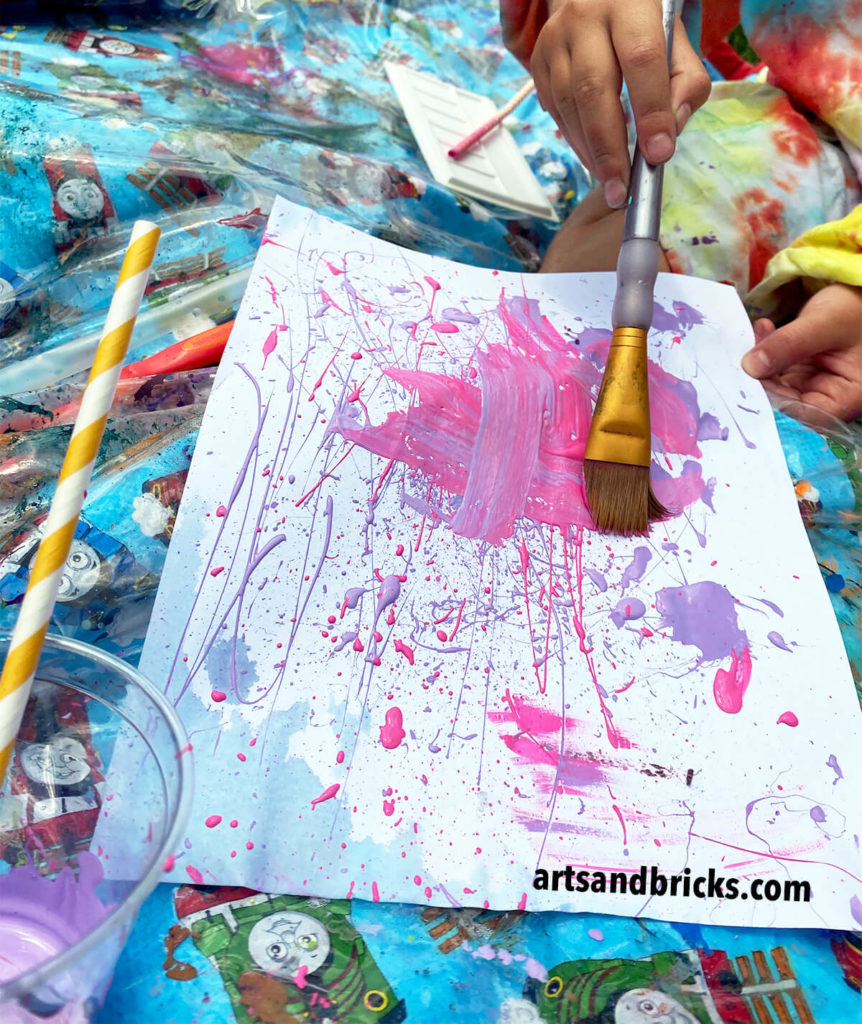
Next, onto using brushes
She grabbed a large paintbrush next and started smearing her beautiful splatters! I wanted to say, “No, I love that texture…”, but I refrained and let her keep exploring. It is her artwork after all!
Experiment with Watercolor Paint and Straws
Next, we switched to using watercolor paint with our straws. We added just a little water so that the paint color was strong and not diluted. We found that the dark colors worked the best.
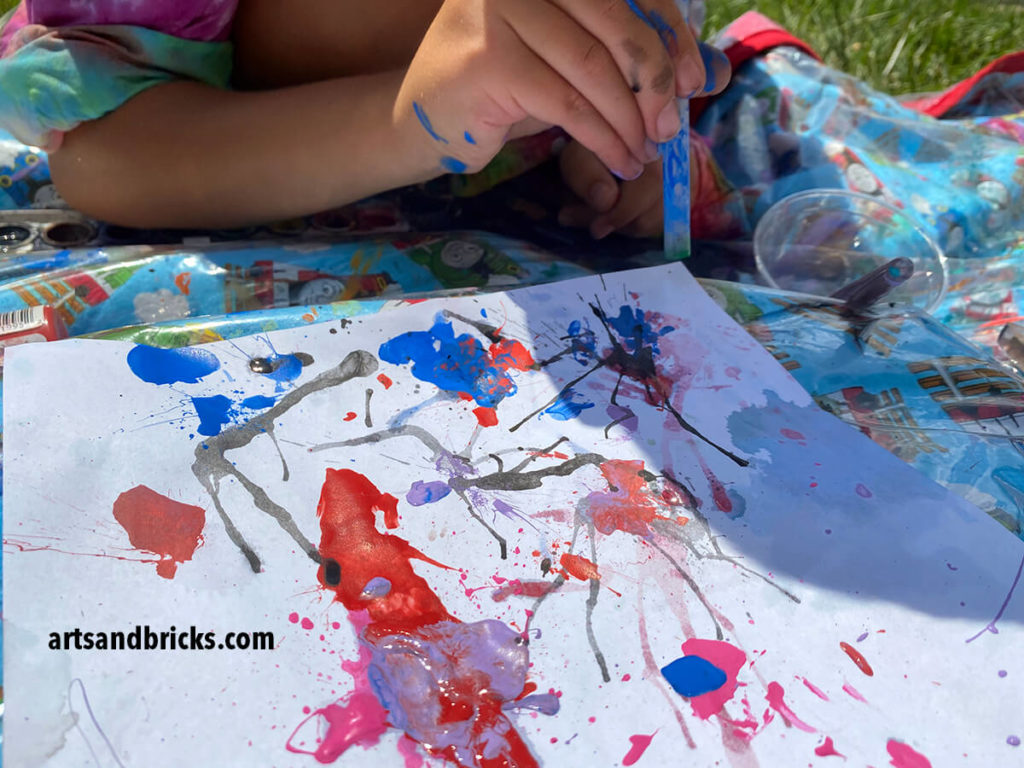
My favorite was using the straw and watercolor paint!
It’s mesmerizing watching the water move and take the paint color along with it. The drips and splatters remind me of fireworks.
Process Art
We spent an hour in the sunshine experimenting with paint, food-colored water, and straws. Our focus was artistic play and fun, and it was a wonderful success!
Go where the paint blows!
We hope you’re inspired to get outside and get messy too. Encourage your little ones to explore, experiment, and to to have fun. We recommend going into this actitivy with no preconceived goals or designs planned; instead, simply go where the PAINT BLOWS!
Save to Pinterest
Leave a Reply