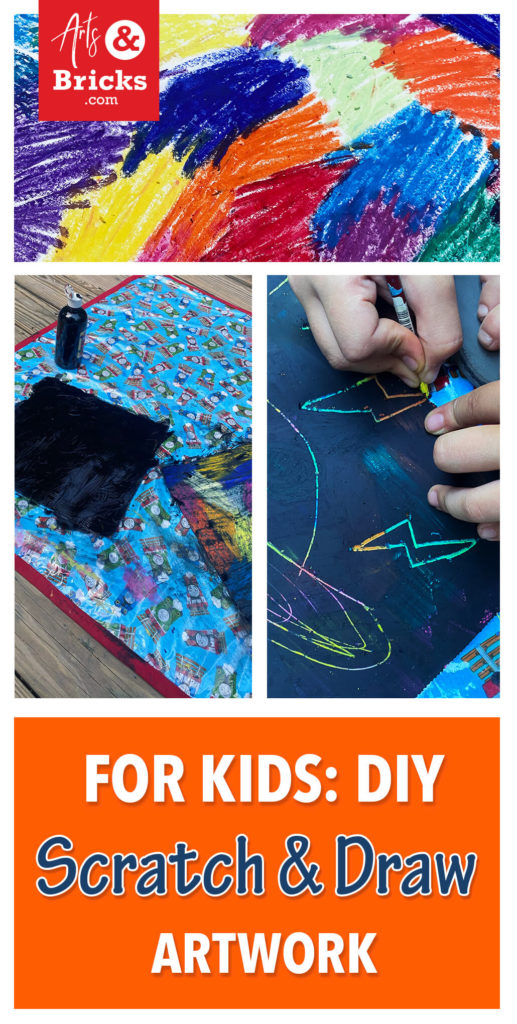
Make your own DIY Scratch and Draw boards (It’s Easy!)
Our simple DIY project uses oil pastels, black paint, and card stock to create fun rainbow drawings.
Inspired by purchased scratch and drawing boards (like these scratch paper art sets or bookmarks), this afternoon DIY craft project requires just a few simple steps:
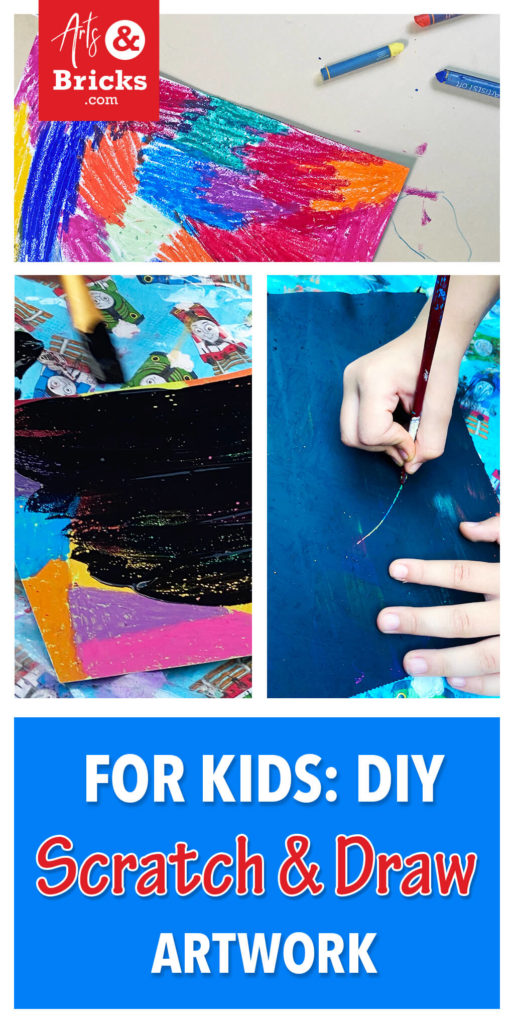
1. Use Oil Pastels to fully cover a piece of cardstock. Make it colorful!
2. Start painting. Then, paint, paint, paint, and paint some more.
3. Cover the entire piece of paper with black paint. We used black washable tempera paint.
4. Let dry, then start drawing. We used the back of a paintbrush to draw. (Our designs took about 2 hours to fully dry.)
5. Voila, Scratch, and Draw Coloring FUN!
Watch our Pinterest Story Pin – Don’t forget to turn on the volume!
Parent Tip:
A friend on Pinterest suggested adding a bit of dish soap to your black paint. This is supposed to make the black paint easier to scratch through. Give it a try and let us know how it works!
Process Art
This project is considered “Process Art” because it’s child-driven and is about discovery and experience; it is not about the final outcome. Let your child add color in any way your child sees fit. Let the scratched drawing be anything – even just abstract marks and designs. Encourage experimentation and play!
Save for Later on Pinterest

Leave a Reply