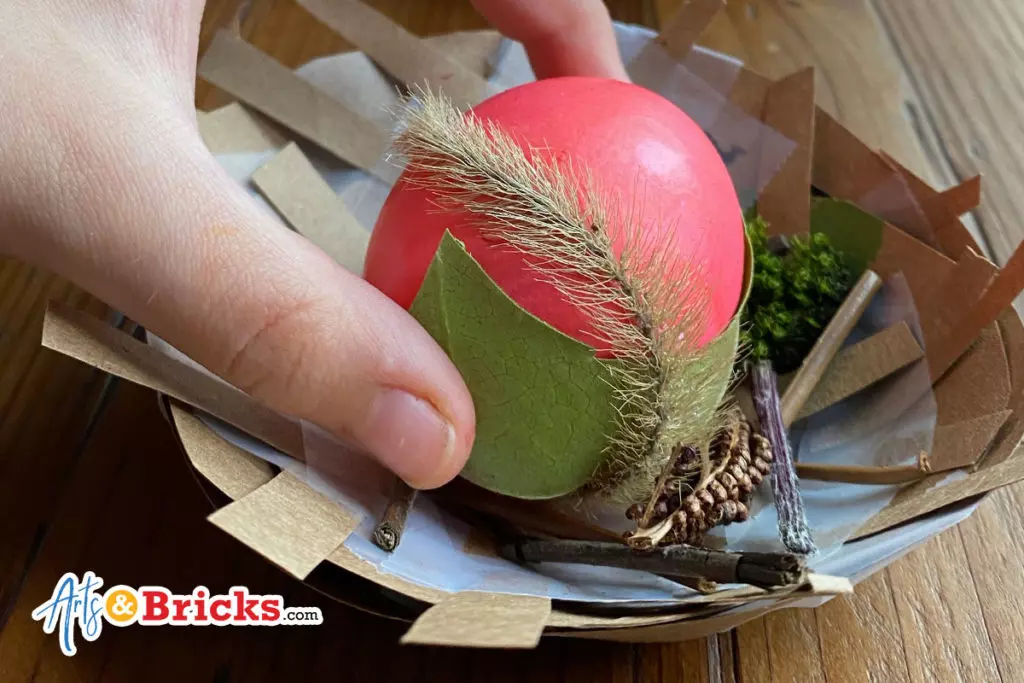
To display our Blown-Out Easter Egg Nature Egg craft, we decided to create paper bag nests.
There really isn’t a wrong or right way to make a paper bag nest. In this post, we share two techniques that we experimented with and they both resulted in beautiful display-worthy nests!
We used one large ALDI paper bag to make our two paper bag nests in our example. It was the only paper bag we had at home, but you could use any size bag and have success. Using lunch bags would remove the issue of having printed ink visible on your final project.
We each cut a large circle/oval from the bag with regular scissors. Neither circle was exact; they were both just roundish. Next, we started cutting our circles into spirals. We each created a different thickness for our coil, and on one loop, we left the center circle intact at the end, and on the other, we cut the circle off, making our spiral appear more like a snake.
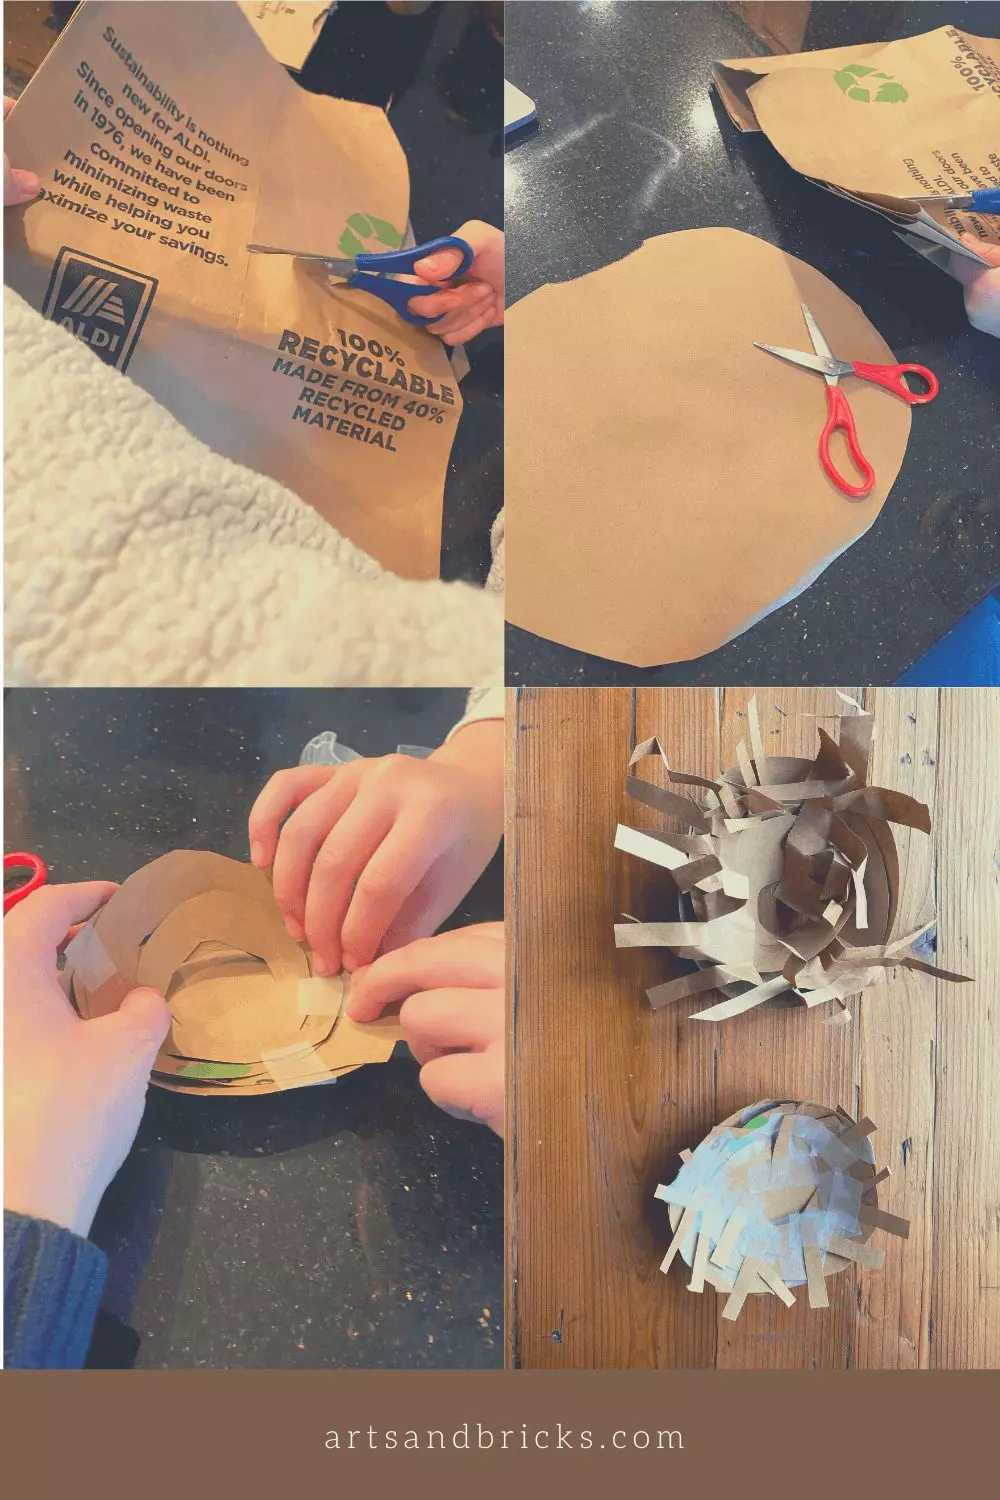
Next, we started winding the spirals into nests shapes. We used glue to secure one nest and tape on the other.
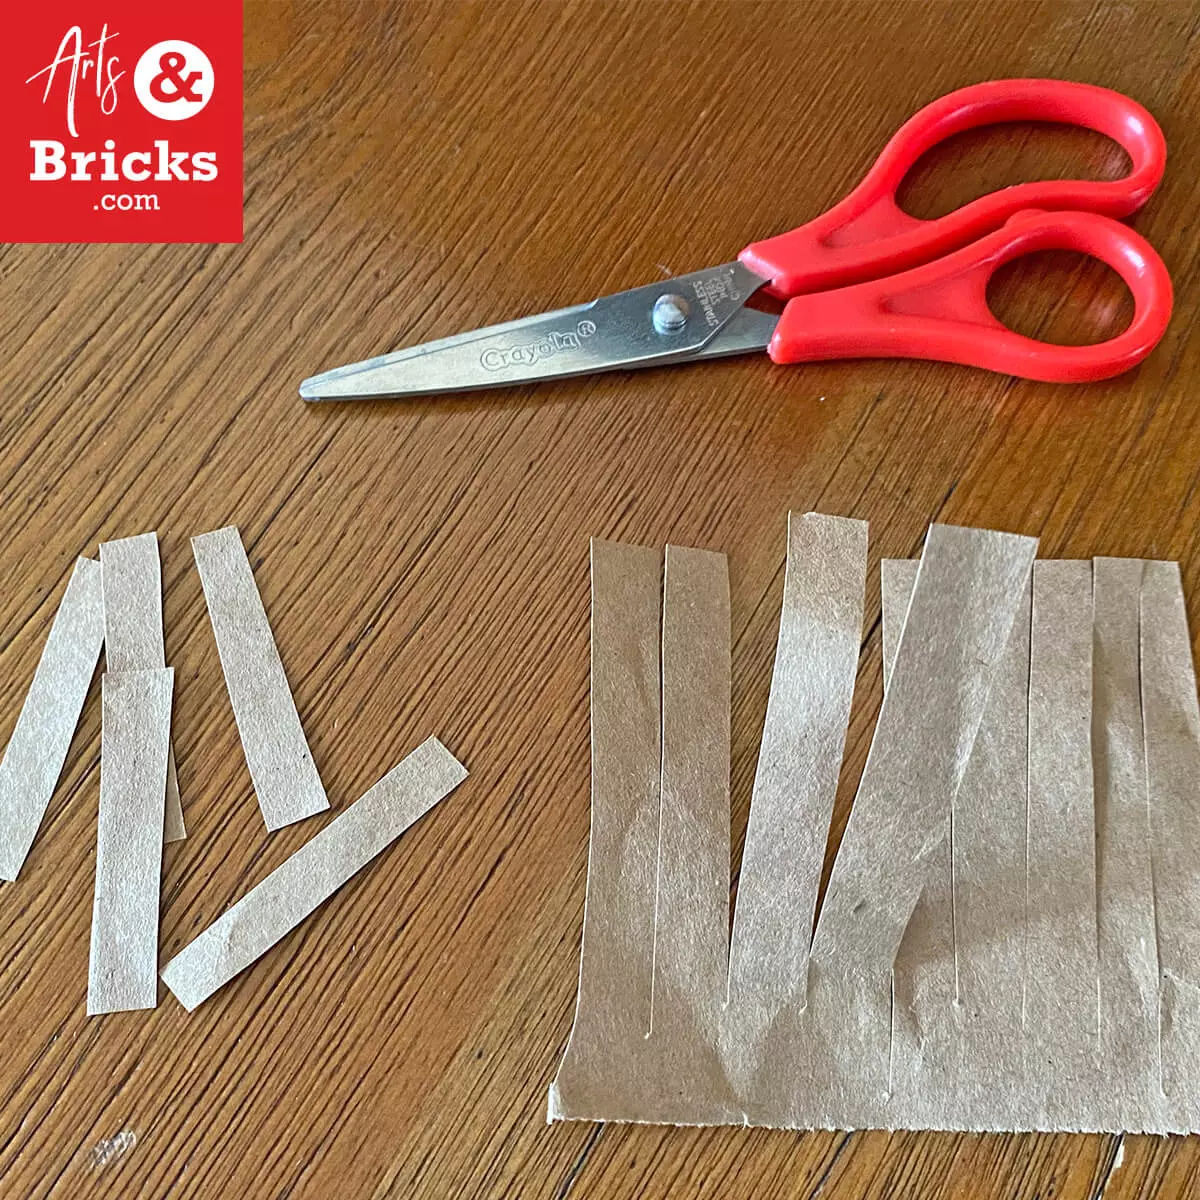
For our glued nest, we cut additional rectangles and cut slits into one edge of each rectangle to make it fringed. We crumpled the extra fringed pieces, unfolded them, and glued them into the nest.
In our taped nest, we cut individual twigs (small individual rectangles) and taped them one by one into the nest.
Voila! Your paper bag nest is complete!
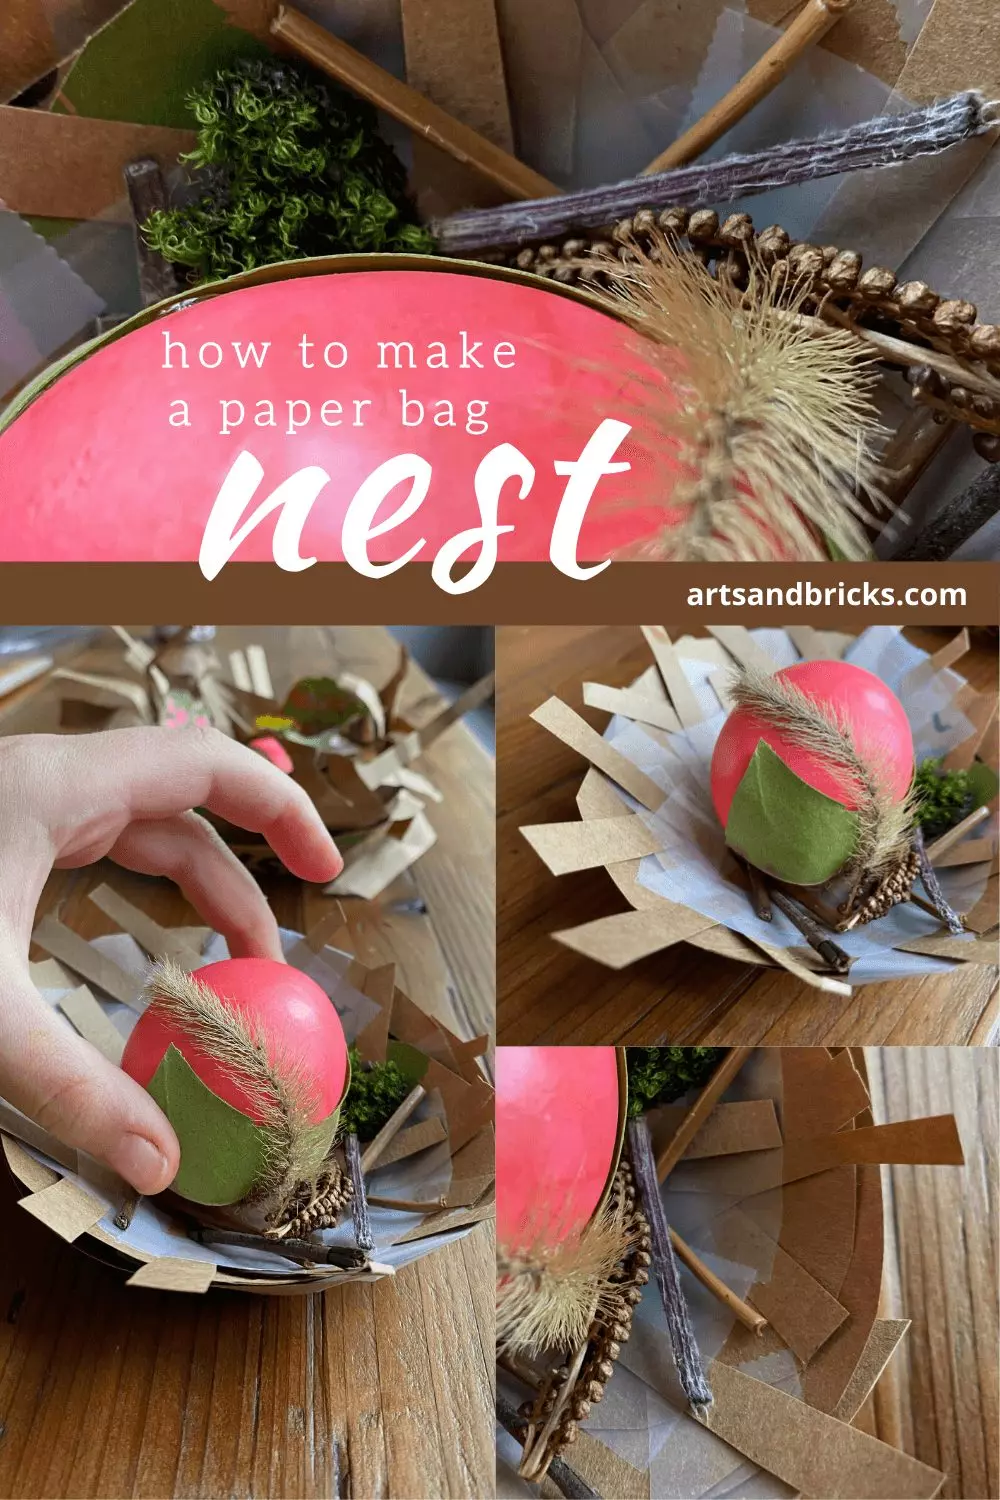
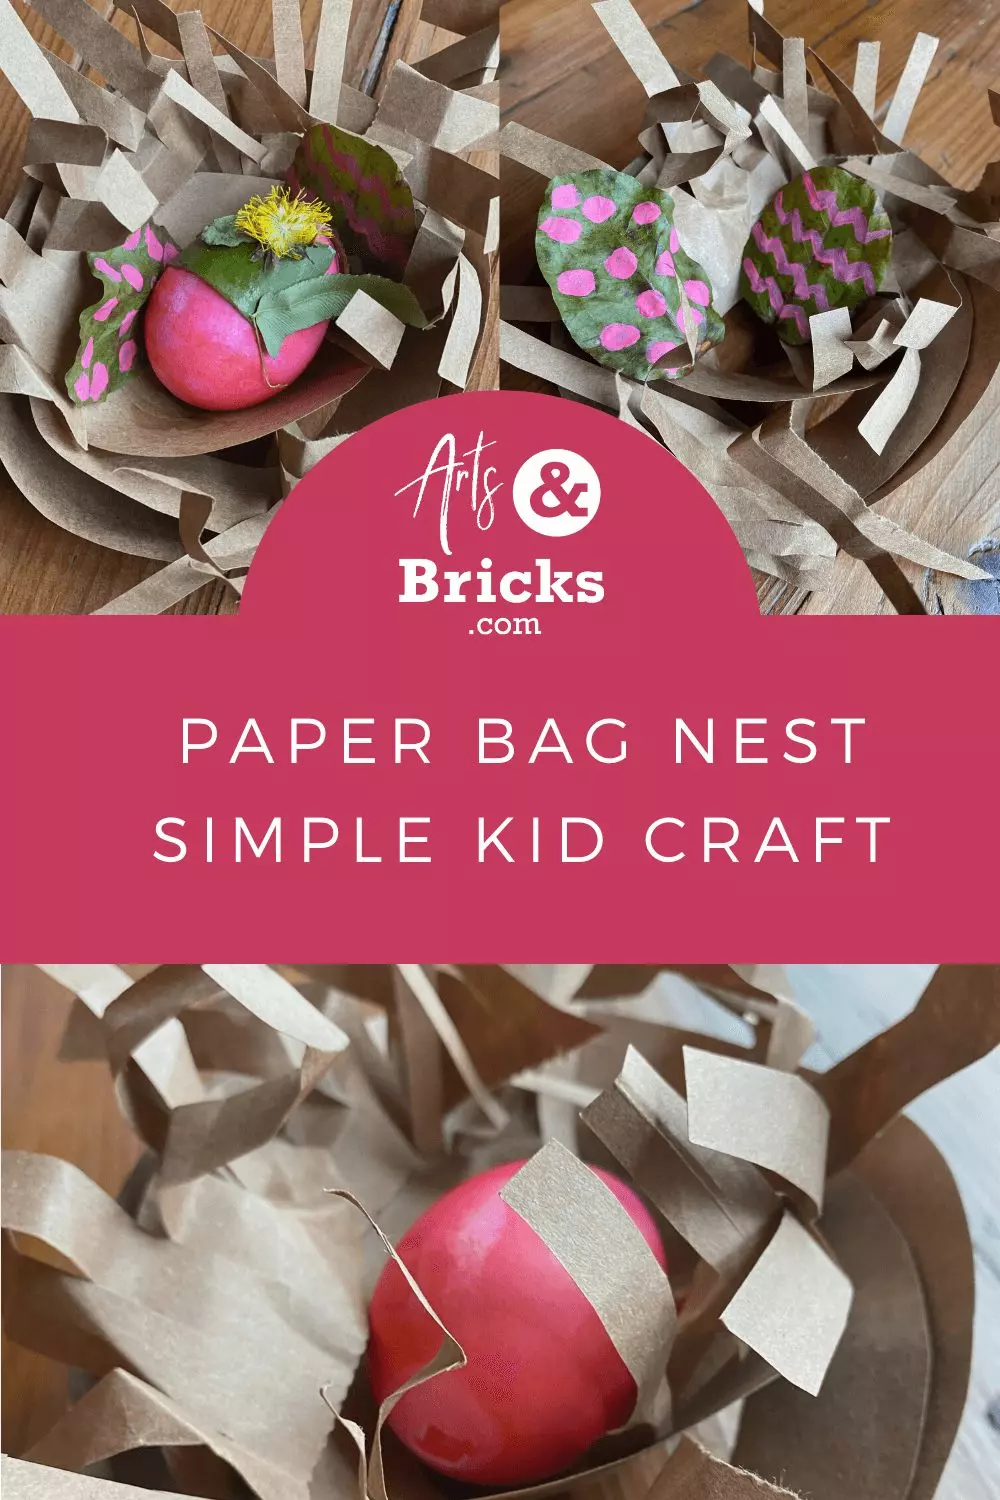
You now have the perfect hand-crafted paper bag nest for displaying dyed Easter Eggs, plastic eggs, painted Leaf Eggs, Nature-Decorated Eggs, and even candy eggs!
Add collected outdoor materials like sticks, moss, and leaves to your paper bag nest for an extra touch. We used the leftover natural materials we gathered for our Easter Nature Crafts post projects.
Looking for more ways to make paper bag nests?
Check out these other bloggers’ posts, too:
Happy Hour Projects: 10-minute Paper Bag Nest
FamilyChic: Lunch Bag Nests

Leave a Reply