Inspiration for Children’s Science Dioramas
Love or hate them, elementary school diorama projects are part of life for the typical parent! Here we’re sharing our process for making a rainforest jungle diorama in 5th grade and grassland in 2nd grade.
Rainforest Jungle Diorama – 5th Grade Science
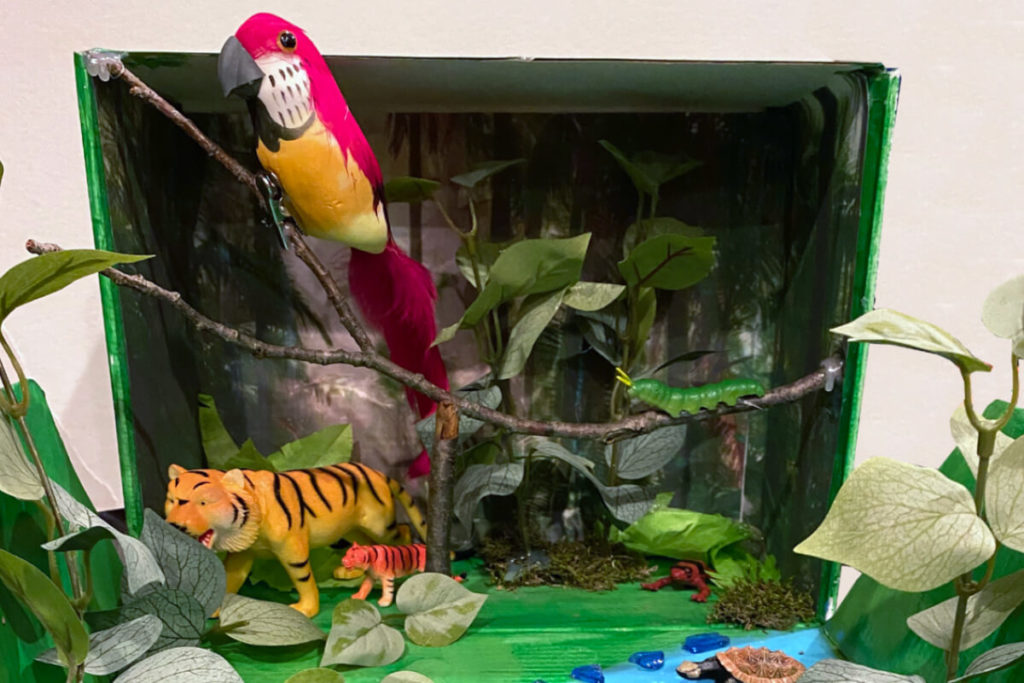
As a fifth grader in STEM/Science class, an in-class and take-home diorama project was assigned.
The Perfect Shoe Box
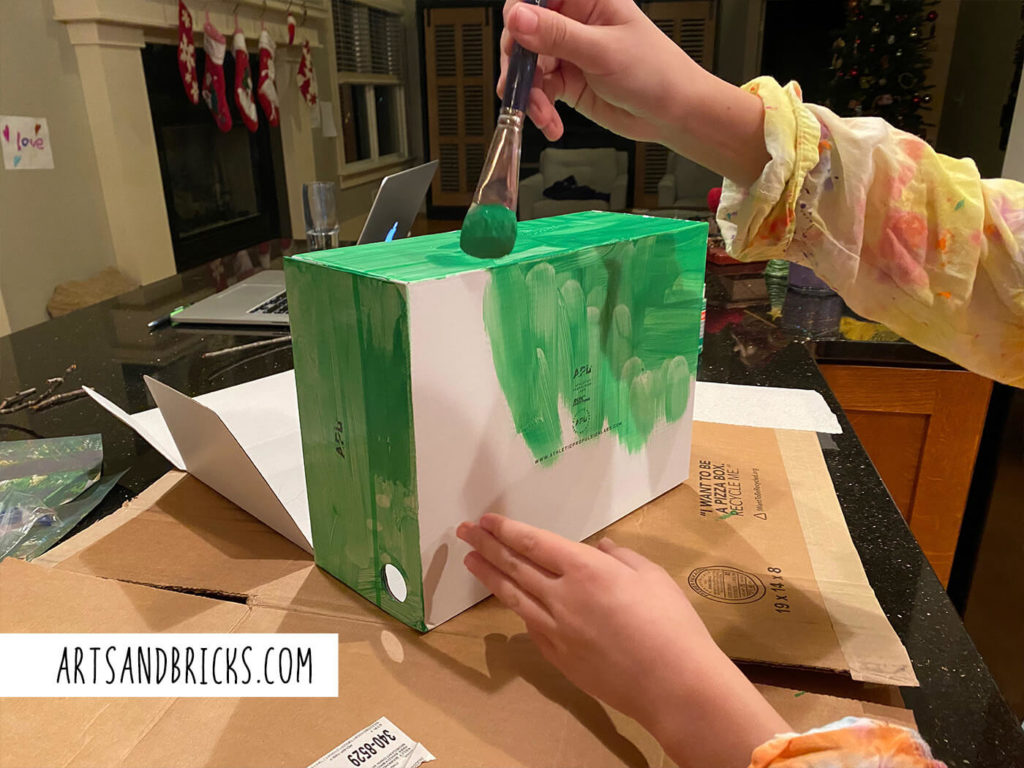
We used a women’s shoe fold-out white exterior shoe box and kept some top flaps intact. This gave us a deep area in the background and lots of room in the front for a river and foliage.
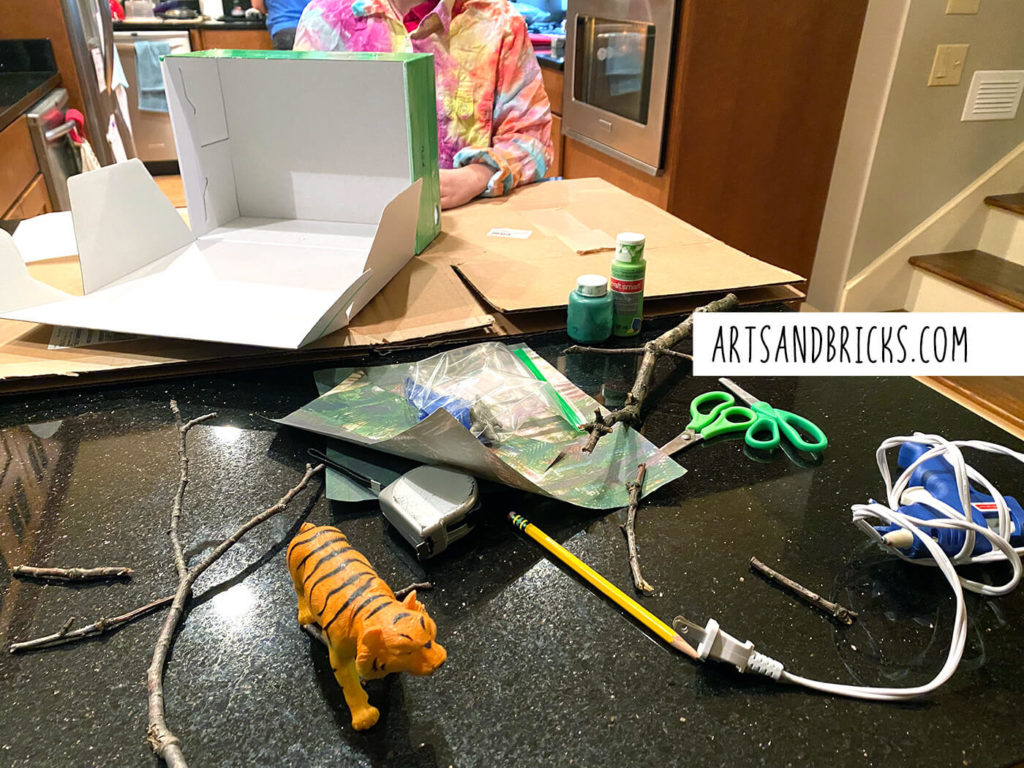
Acrylic Paint
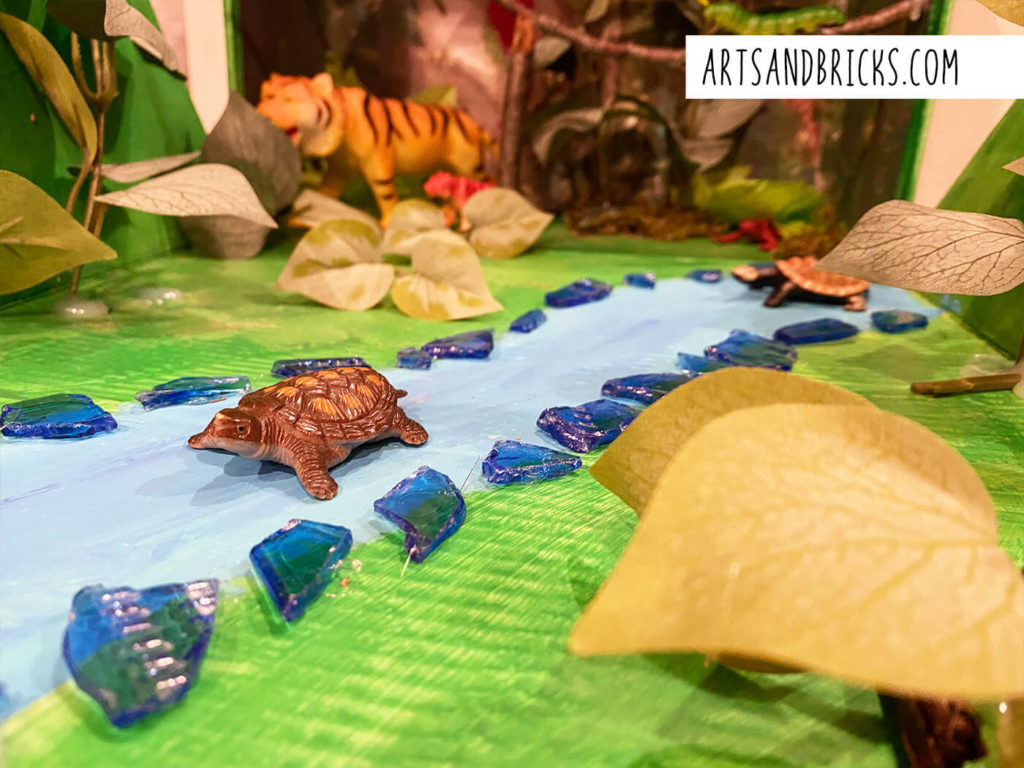
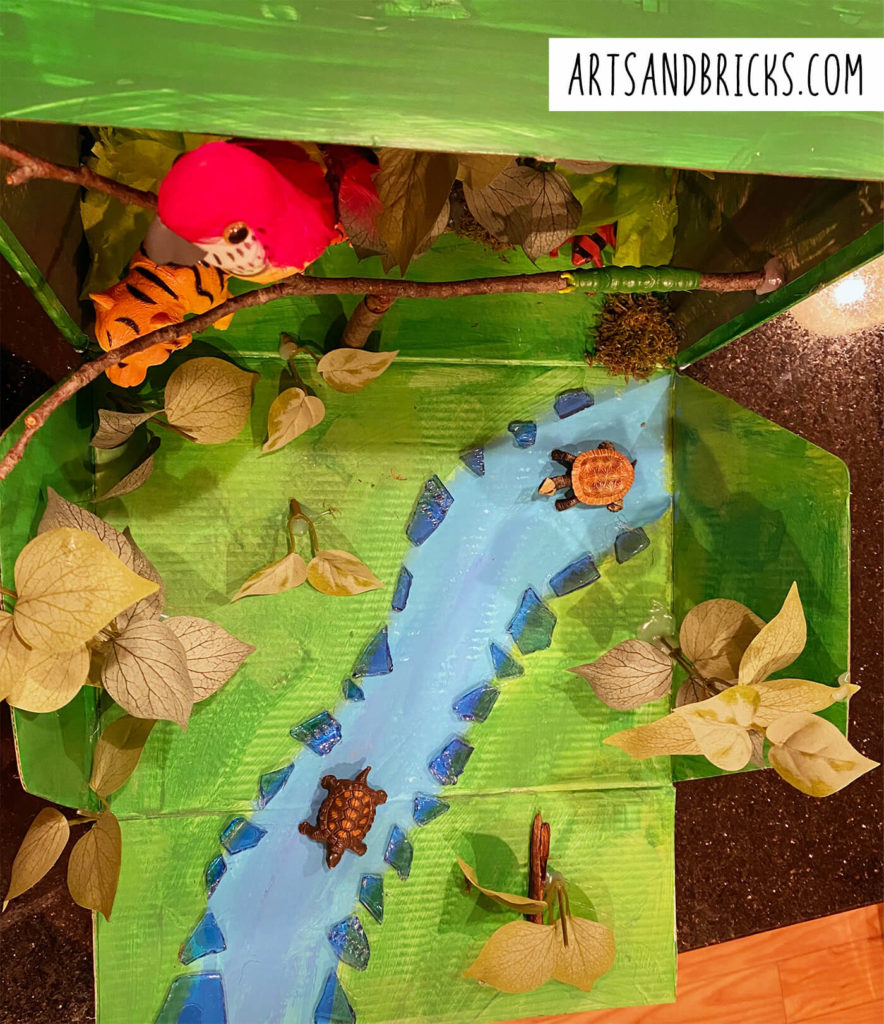
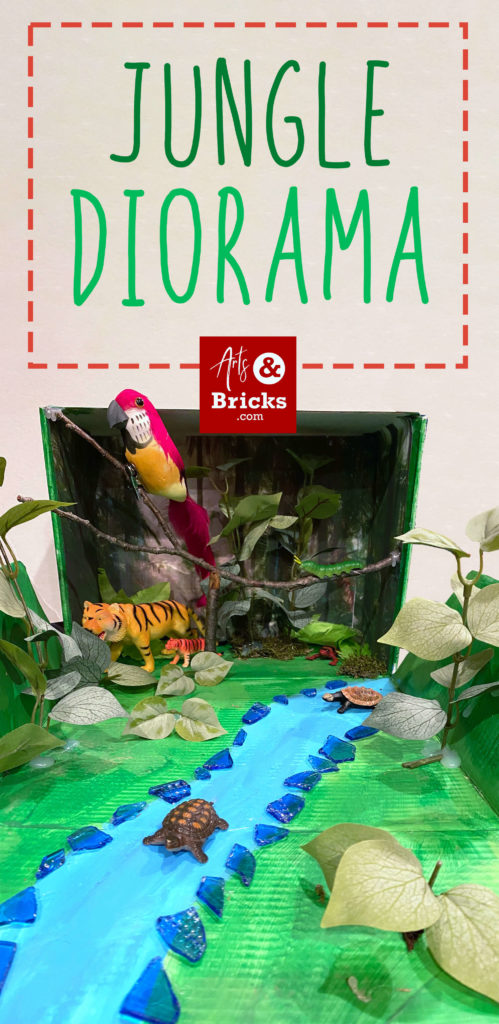
Our first step was painting the box. We used two shades of green acrylic paint and painted two coats on the exterior and interior of the box. We used three colors of blue acrylic paint for the river to add dimensionality.
Jungle Photograph Background
We looked online for “jungle tree backgrounds” and found many great images. My son picked his favorite. Next, he measured the inside of his box. I’m a graphic designer, so I whipped open Photoshop to print out three pages that perfectly fit the areas of the box he measured. He cut them out and used stick glue and hot glue to attach the background to the box. The photorealism added excellent dimensionality to his diorama. He was very pleased with the effect!
Plastic Animals and Mosaic Glass
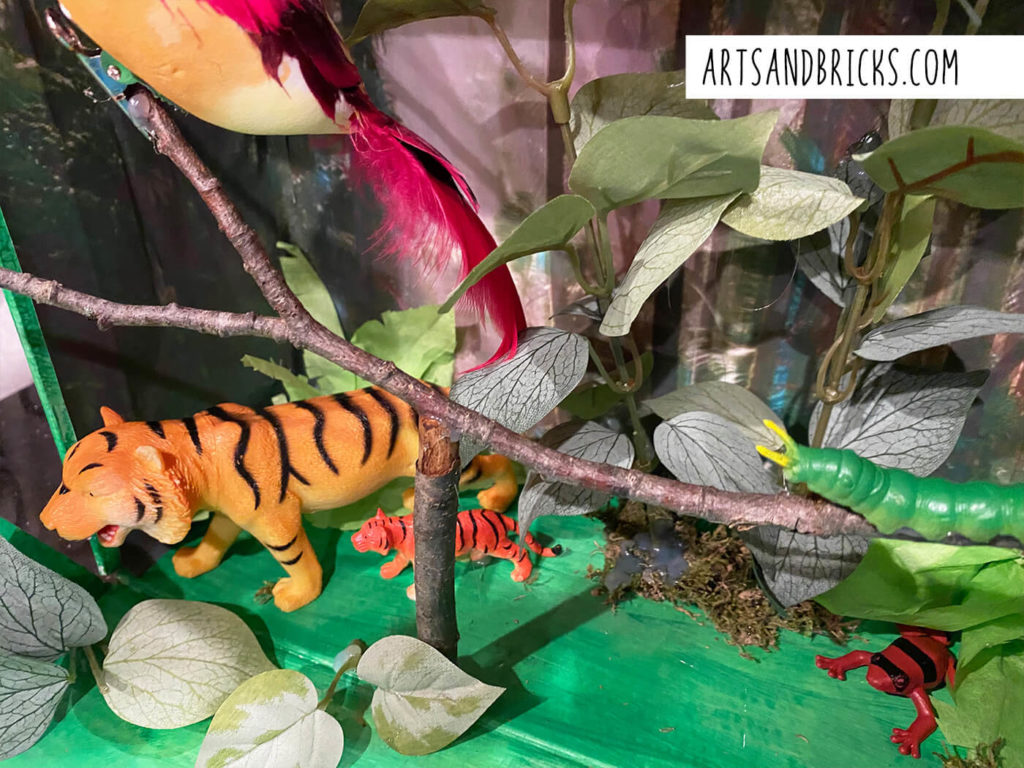
After the paint was dried, we used hot glue to add 3-dimensional elements. We searched the playroom for plastic animals. We had some success. We found two tigers, two turtles, and a caterpillar. We found shards of blue glass from a leftover mosaic project in our craft supplies. The mosaic glass frames the exterior of the river.
Tropical Plants from Tissue Paper
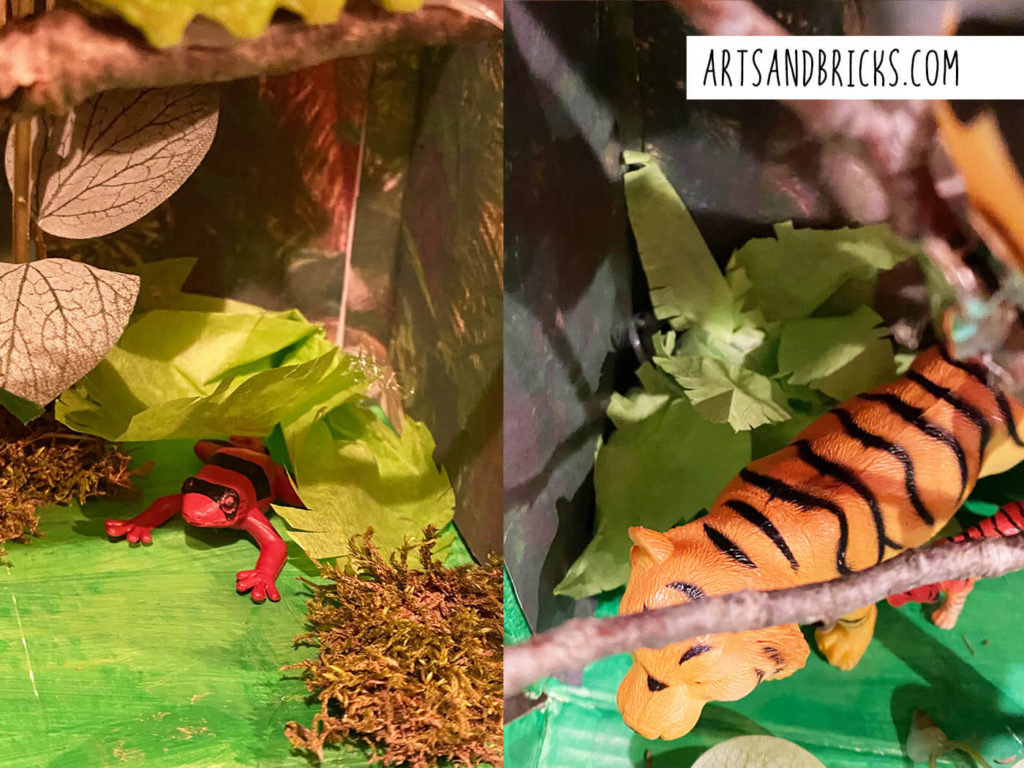
We followed instructions we found online to make a couple of tropical plants from green tissue paper. We accordion folder the paper and then cut patterns into the paper. The results are giant leafy ferns. They look great.
Explore the Yard for Sticks and Moss
Next, we explored the yard, looking for materials that would serve as small shrubs or trees in the jungle diorama. Most of what we found didn’t work, but we kept a few sticks and moss as ground foliage.
Trip to Michaels
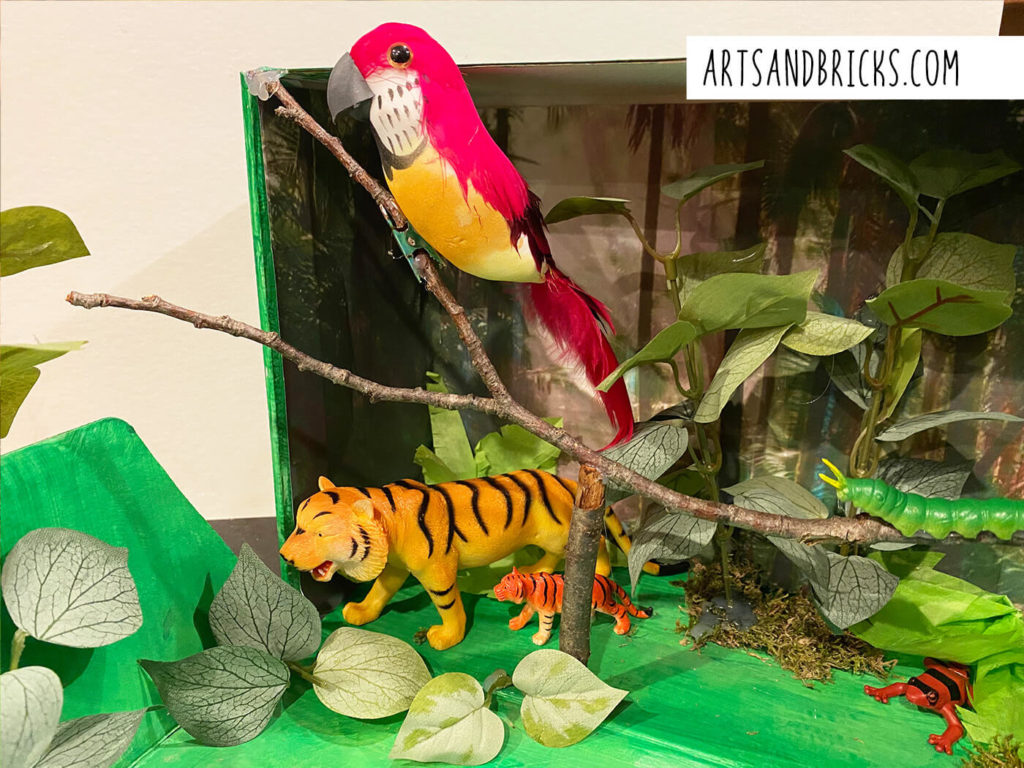
At this point, we decided to go to Michaels to see what else we could find. We had the perfect stick for a parrot or bird, and we weren’t sure we could make one we’d like. We lucked out. Michaels had a red parrot for $8. It has feathers and is roughly 7 inches long from the head to the end of the tail feather. We also picked up a stem of green leaves (pothos stem) for $8 that we cut up to use as tropical trees and shrubs. I was vying to make this diorama without spending anything, so my son and I split the costs.
Hot Glue Finishing Touches
The rest of this diorama project was mainly just hot gluing and accidentally burning fingers as we went. A found stick was the perfect perch for the parrot and a good walkway for the caterpillar. The hot glue is visible in many places. My son decided the glue looked like water drips and added to the atmosphere. Whew!
Final Product
Overall, we both enjoyed working on this project. My son is pleased with the outcome and looking forward to turning this assignment in. He especially loves how much the parrot stands out!
We hope this helps inspire you as you work on your jungle rainforest science diorama.
Grasslands Diorama with Leopard – 2nd Grade Science
My son was assigned a grasslands diorama science project as a second grader. He’s a crafty kid, so he loved working on this project.
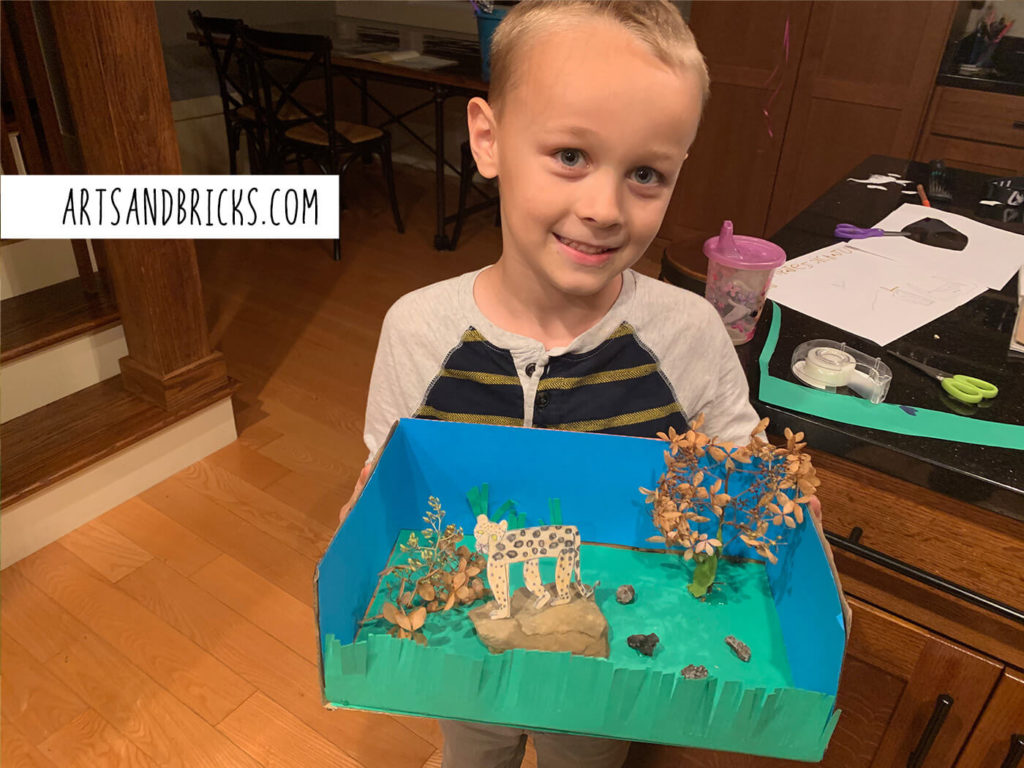
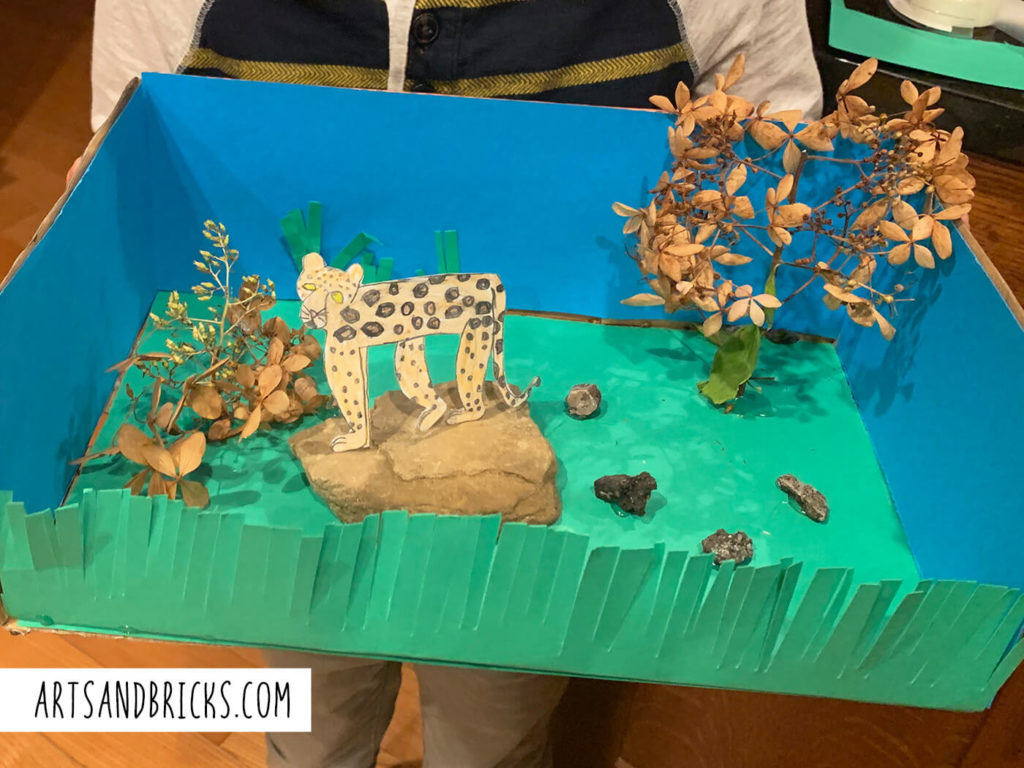
We used just the bottom 3/4 of a shoe box for this project. The outside of the box was already black. We cut colorful blue paper to cover the back and to make the sky and bright green for the ground and grass.
Use Found Foilage and Rocks in Dioramas
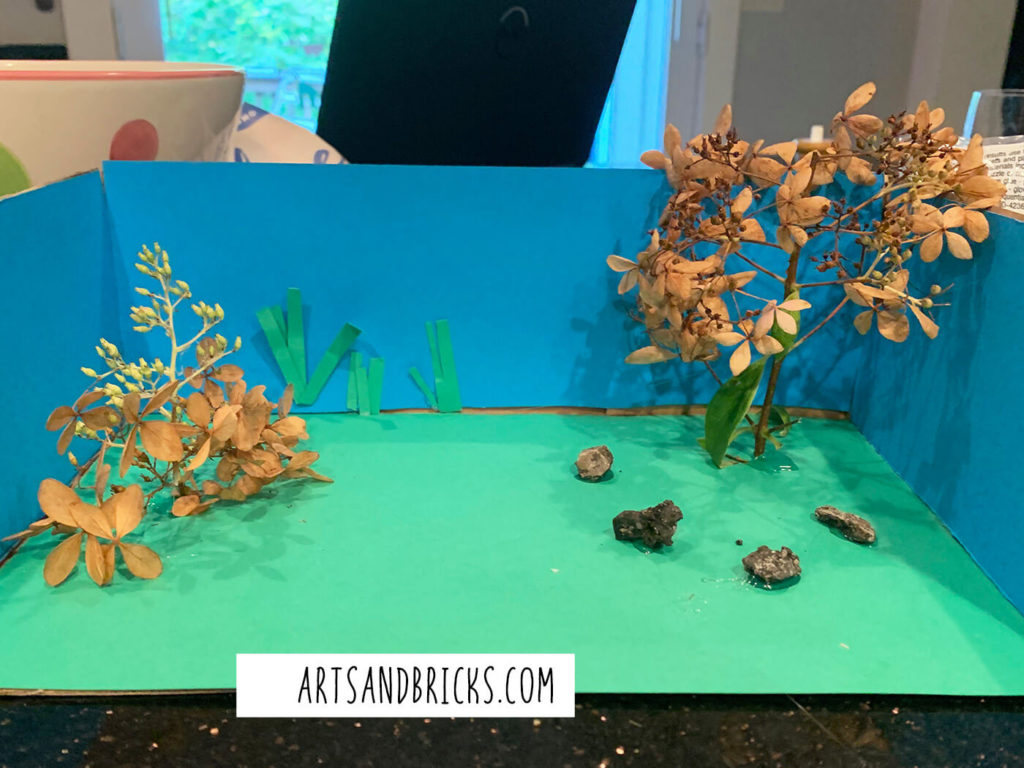
Next, my son went outside looking for found natural objects to use. He noticed our hydrangea tree’s dried flowers looked like dry trees or plants found in the grasslands. He also found small rocks. I helped with the hot glue gun, and we attached our found objects.
Make Grass from Cut Paper
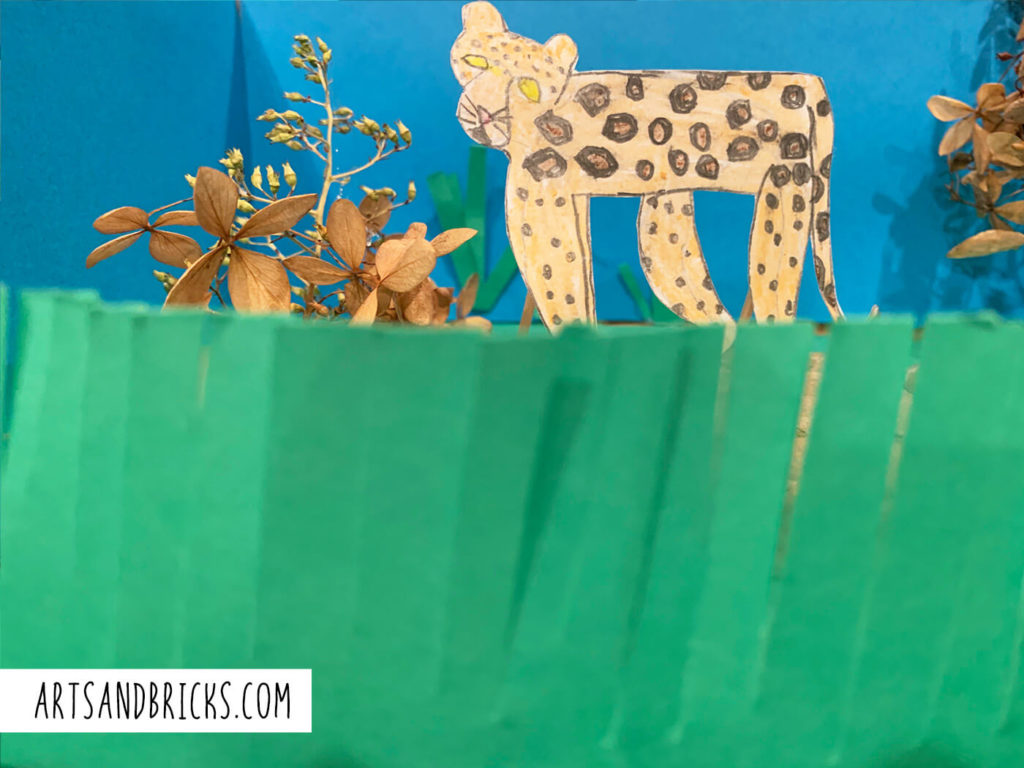
To frame the front of the diorama, my son decided to use more green paper and to cut it fringed. It turned out great!
Hand-Drawn Animals Cut from Paper
My favorite part of my son’s diorama is his hand-drawn Leopard. He used colored pencils and pencils to draw it, and he so carefully cut it out! We mounted his flat paper drawing with toothpicks and hot glue.
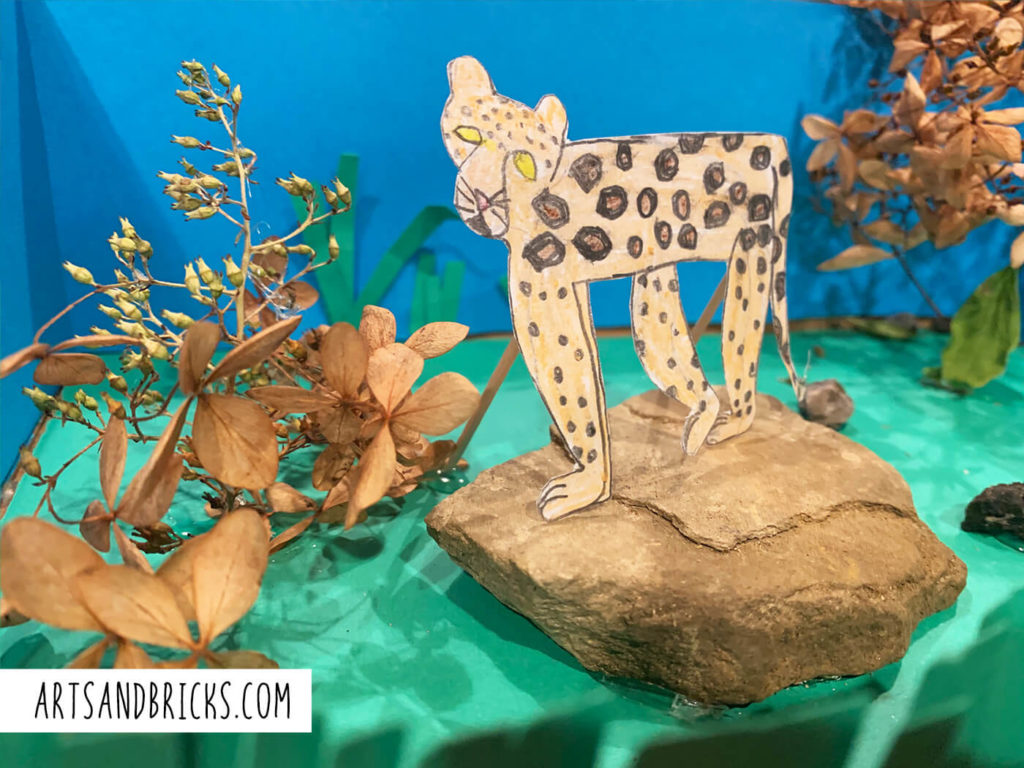
Final Product – Grassland Diorama
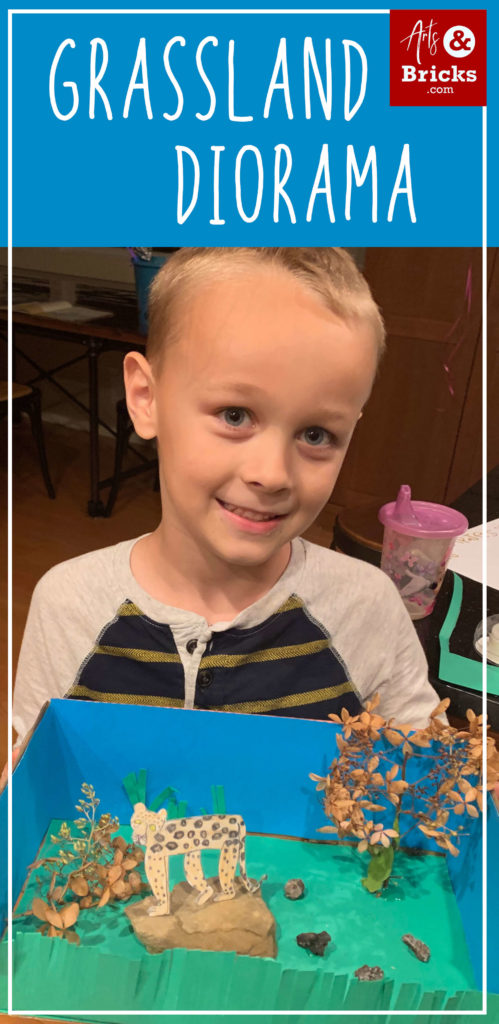
Overall, my son loved this project. He was extremely proud of it; it stayed on display in his room for several years.
We hope sharing our pictures and process helps inspire you as you work on your grassland science diorama.
Save for Later – Pinterest

Leave a Reply