Have you ever looked at your bucket of sidewalk chalk and thought, “What do we do with this?” Today, I’m here to inspire you with a very simple, family-friendly outdoor chalk art mosaic project.
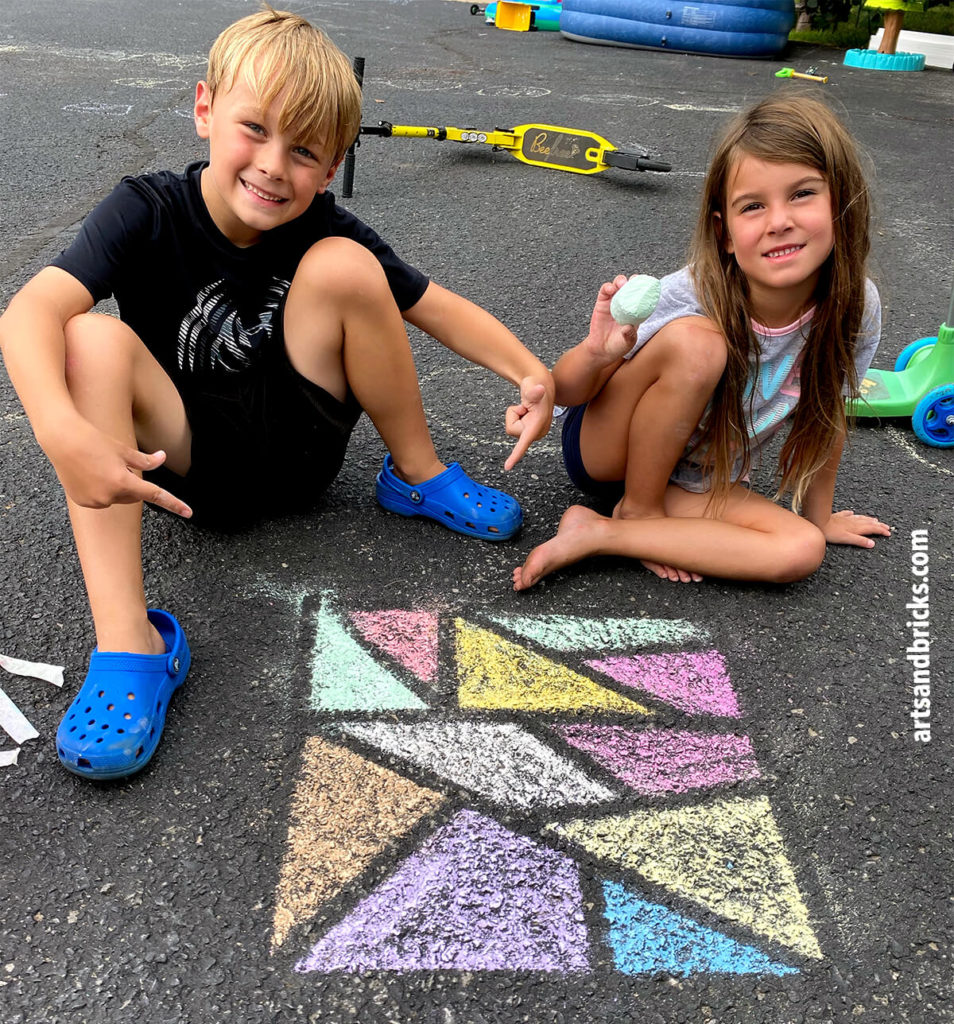
Looks like Chalk Stained Glass
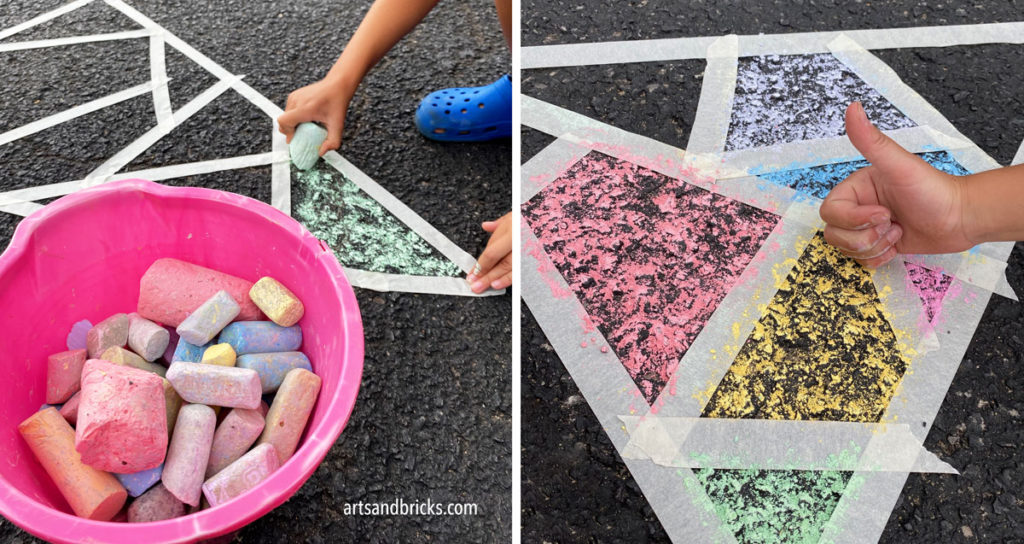
How do you make sidewalk chalk mosaic art?
You make sidewalk chalk mosaic art using just two materials: tape and sidewalk chalk.
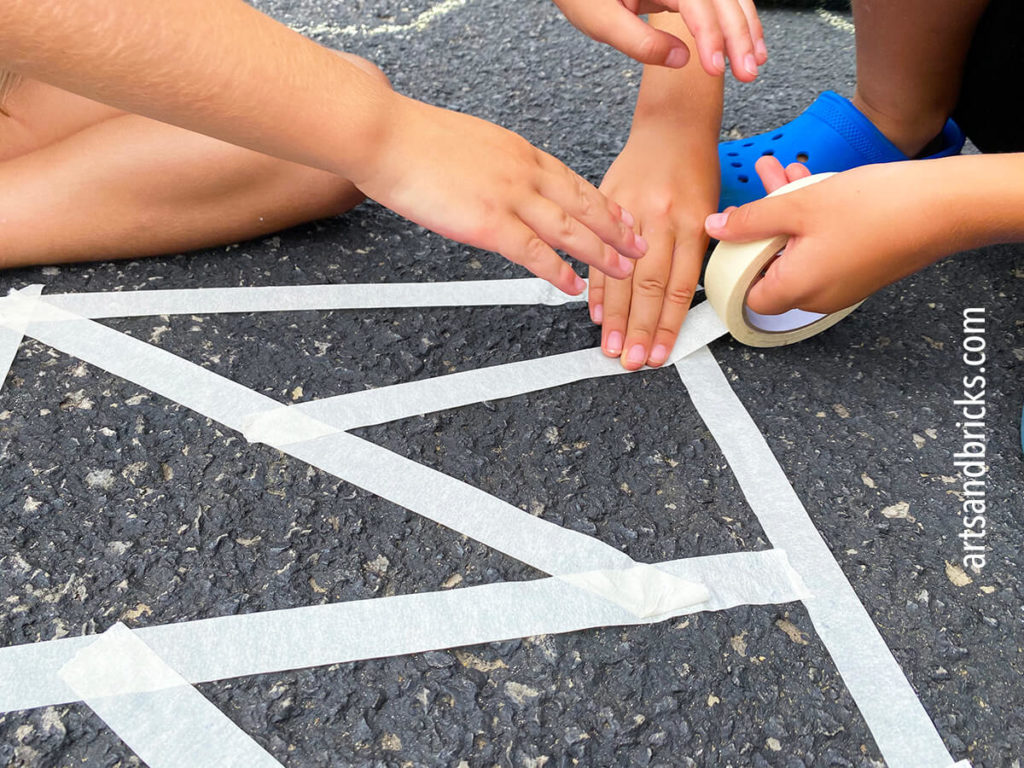
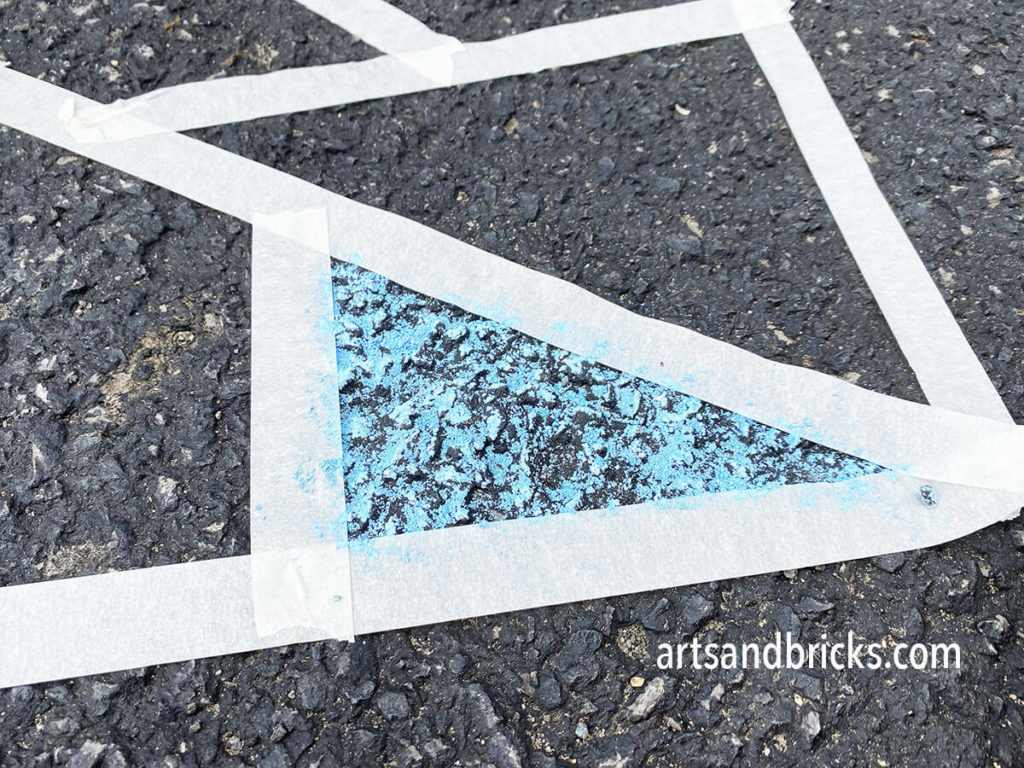
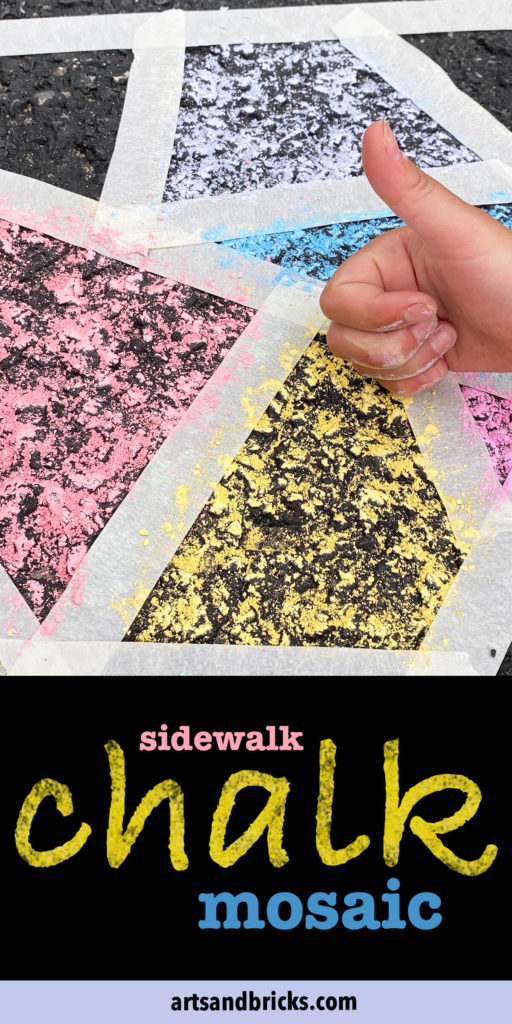
The concept is simple, first use tape to frame the borders of your design. Next, use chalk to color in the shapes created by the tape boundaries. Finally, remove the tape. You’ll be left with a stunning geometric mosaic design!
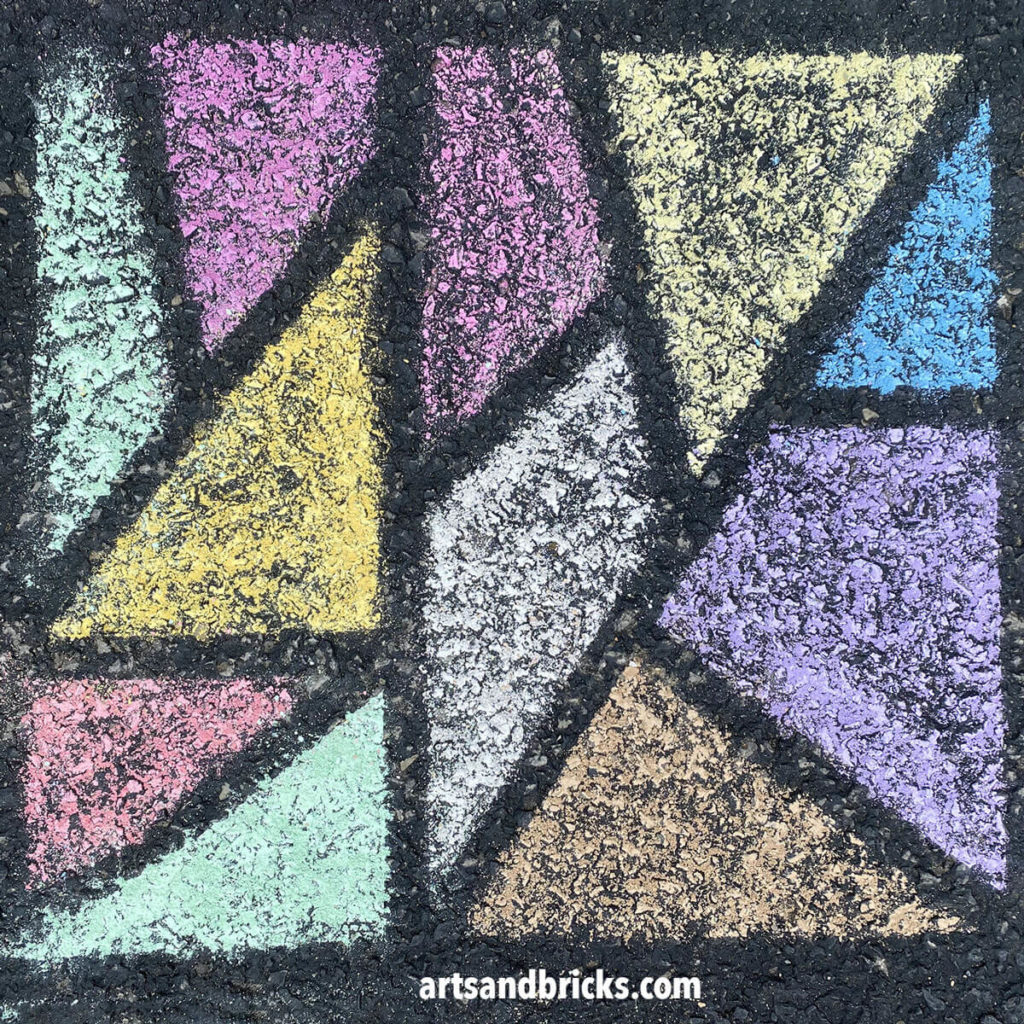
More about our driveway chalk mosaic art project
Mosaic art is a great activity for kids, teens, and adults, alike! We especially love this outdoor activity because it’s inclusive and gets everyone in the family outside and off electronics.
This creative activity encourages thoughtfulness and teamwork and, as a bonus, results in colorful, joyful designs for all your family and neighbors to enjoy!
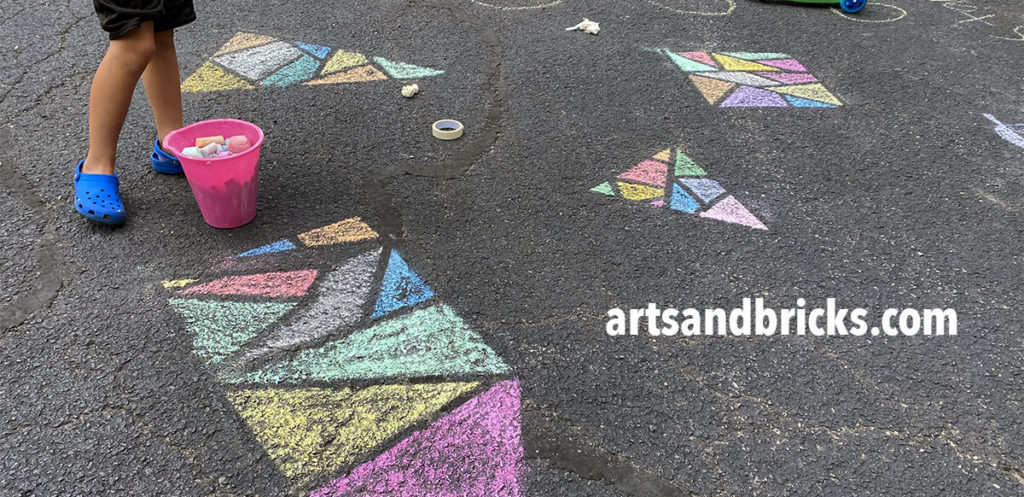
One of my favorite things about outdoor mosaic chalk art projects is they allow kids to play with SCALE!
Designs can span entire driveways. Create LARGE mosaics. You are not designing for small pieces of paper. The ability to fully move around your art without size constraints is VERY FREEING!
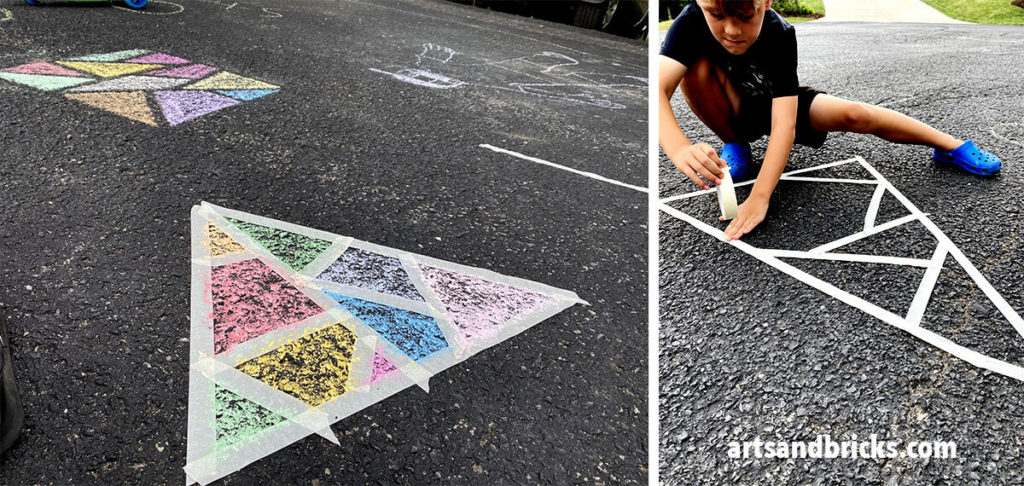
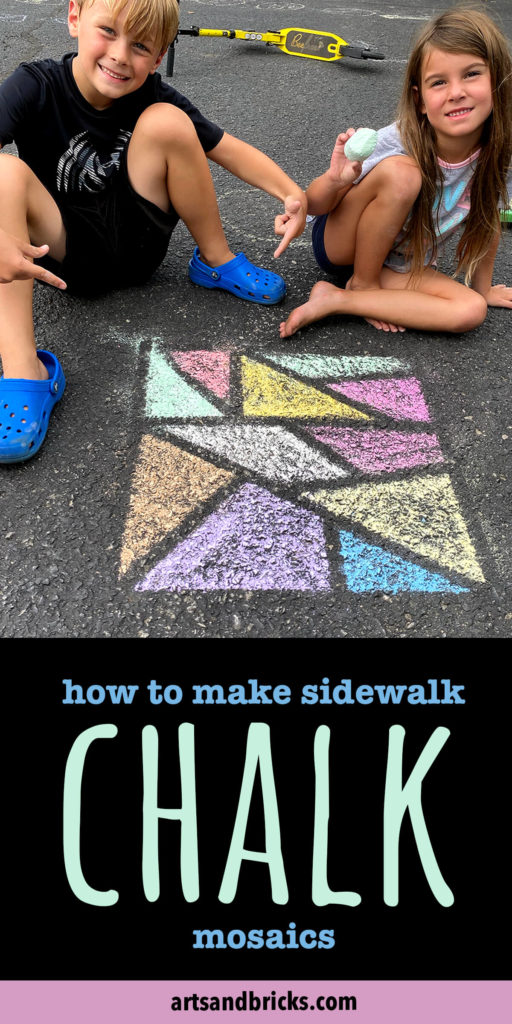
As first-timers, we mostly created triangles with the tape, and randomness was the name of our game.
We had such a great time making our chalk mosaic art that we’re already discussing what we’ll make next time. Destined to become a family outdoor activity we do, again and again, we’re planning on trying to make other mosaic shapes (maybe hearts 💕 or stars ✨ ) and giving a go at creating letters and words, too!
What type of tape should I use for chalk mosaic art with kids?
For chalk mosaic art, you can use any tape that will stick sufficiently to your pavement, cement, or driveway.
Masking tape is a cheap option and is what we used because we had it at home, but you can also use painter’s tape, electric tape, or even duct tape. Some mommas have shared that too strong of tape will become quite challenging to remove, especially in very hot weather.
Sidewalk chalk mosaic tips
Here are a few tips for parents and kids creating sidewalk chalk mosaic art
- Choose vibrant chalk colors. The more pigment, the better!
- Use the largest diameter chalk you have (it just makes the process easier).
- Before drawing, make sure your tape is sticky and that it is fully pressed down to the sidewalk.
- Don’t be afraid to use your hand to help spread the chalk and to fill in the ground’s nooks and crannies.
- Create beautiful chalk art on your driveway, sidewalk, or anywhere smooth and easy enough to wash off — even garage doors!
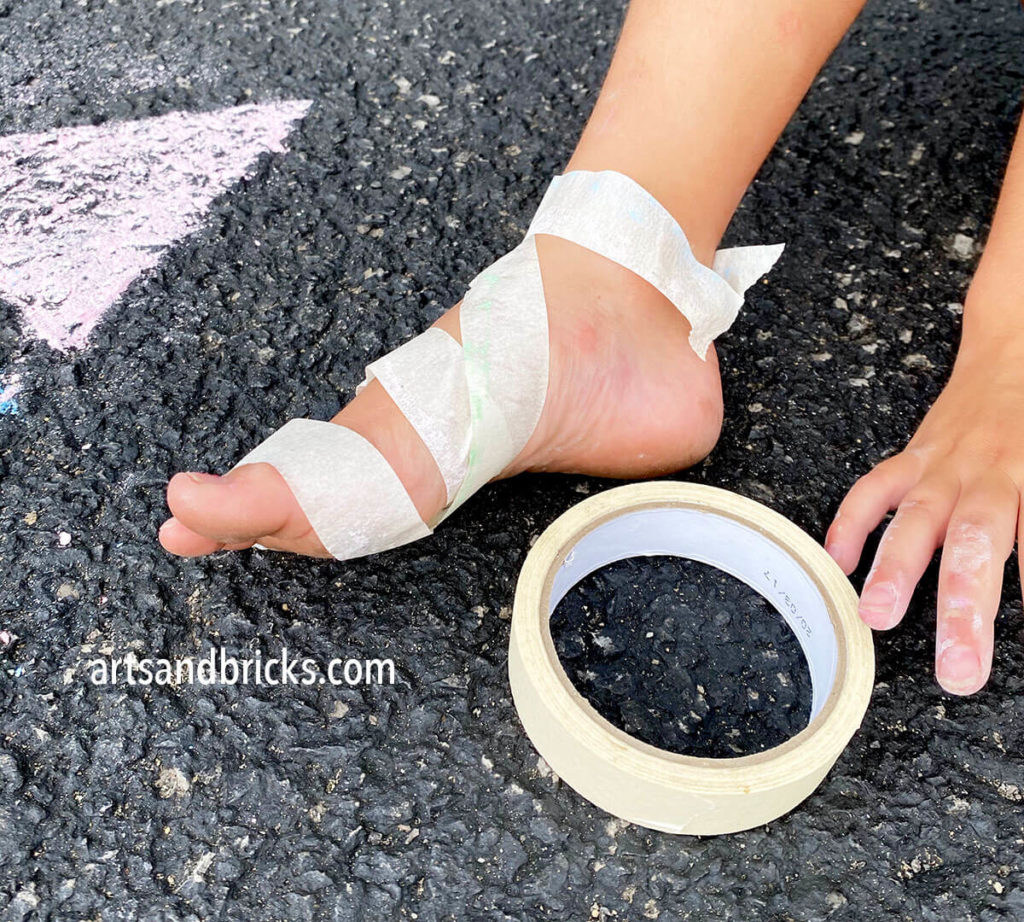
- Have Fun! Give your children the freedom to organically create whatever they feel like making. They may even move to doing something completely different than chalk mosaics; take a breath, it’s okay. My daughter switched to creating fashionable tape sandals! 🤪
Prompts to encourage your child’s creativity with tape resist chalk art:
- If it’s spring, encourage your child to tape out spring-themed designs, perhaps a bunny, flower or Easter Cross (thanks Designing Tomorrow for the cross idea).
- If it’s summer, encourage your child to create something summer-themed with the tape, perhaps a happy sunshine or beach umbrella.
- If it’s fall, encourage your child to design an image that is fall-themed with the tape, perhaps a leaf, football or Thanksgiving turkey.
- Take a look at Tangram designs and patterns as they use triangles and squares and could easily be recreated as sidewalk chalk mosaics. (Google image results for Tangram patterns)
- Use smaller pieces of tape to create curves in your design. Bonus challenge: create a circle!
- In one mosaic, we purposely left the one triangle uncolored so that the black of our asphalt shone through as a big dark contrasting shape. Give it a try!
- Don’t forget that you can mix chalk colors to create gradients, ombres and even a new shade of chalk color!
Sidewalk Chalk Mosaics – Pins to save on Pinterest

Leave a Reply